Static, stiff figures are a common growing pain in digital art. The good news: Procreate has tools that can actually support dynamic drawing—if you pair them with the right mindset and exercises.
Drawing Characters That Don’t Look Pinned to the Canvas
In this article, we’ll treat Procreate like a life-drawing studio. You’ll learn:
- Gesture techniques that keep your characters lively
- How to use layers, brushes, and liquify to improve poses
- Simple construction and proportion tricks
- Coloring methods tailored to character art
- Visual thinking frameworks for silhouette, rhythm, and focal points
Open a fresh canvas and think of it as a sketchbook page. We’re going to fill it with experiments.
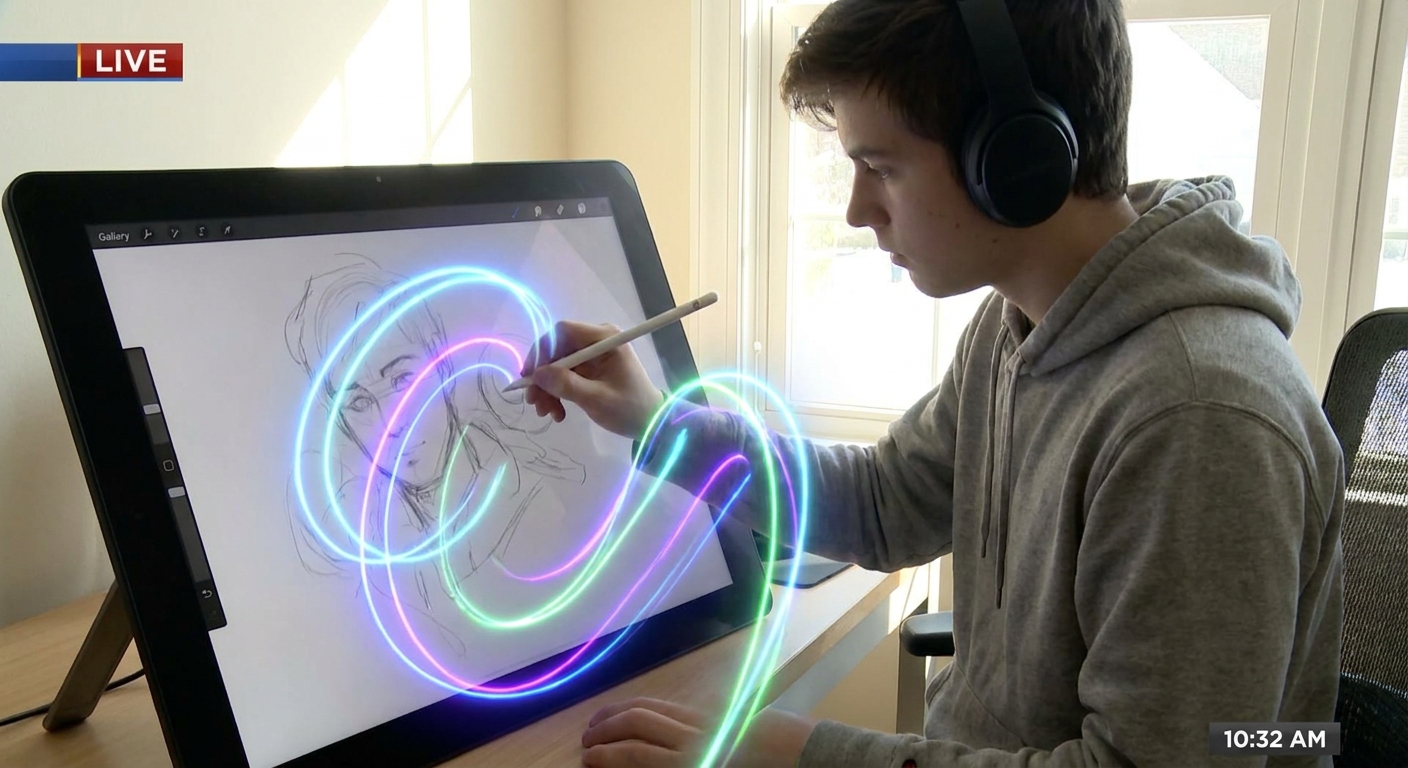
1. Warm-Up: 30-Second Digital Gesture Drawings
Gesture is about movement and flow, not details.
A. Canvas and Brush Setup
- Create a 4000 × 3000 px canvas.
- Background color: light gray instead of white (easier on the eyes).
- Brush: 6B Pencil or HB Pencil.
- Size: ~10–20%
- Opacity: ~80%
B. Use Reference (But Loosely)
- Grab gesture photos or use a pose reference app.
- Set them up in Split View or import into Procreate as a lower layer in a group called
REFERENCE.
C. The 30-Second Rule
- Set a timer for 30 seconds per pose.
For each pose, draw only:
- The line of action (one sweeping line) - Major body masses (head, ribcage, pelvis) - Direction of limbs (simple curves or cylinders)
Aim for 10–20 quick gestures. Don’t zoom in. Don’t worry about hands or faces.
This teaches your brain to capture energy first—a critical foundation for dynamic characters.
2. Construction: Simple Mannequins, Not Complex Anatomy
Once your gestures feel alive, layer construction on top.
A. Use a Separate Construction Layer
- Group your gestures into
01_GESTURE. - Create a new layer on top:
02_CONSTRUCTION.
Lower the gesture layer’s opacity to ~20–30%.
B. Three Main Masses
For each figure:
- Head – simple ball or slightly flattened sphere.
- Ribcage – egg shape.
- Pelvis – a box or flattened oval.
Connect with a flowing spine line (echoing your line of action).
C. Limbs as Simple Forms
- Use cylinders for arms and legs.
- Boxes or wedges for hands and feet.
Don’t aim for perfect anatomy. Aim for clear direction and volume.
Tip: Use different colors for gesture (e.g., red) and construction (e.g., blue) to separate stages mentally.
3. Silhouette Check: Does It Read in Black?
Dynamic characters should read even as solid shapes.
A. Create a Silhouette Layer
- Duplicate one of your better constructed poses.
- On the duplicate, merge your lines (pinch layers together).
- On a new layer beneath, fill the entire figure with a solid black or dark color using ColorDrop.
Now turn off the line layer.
Ask:
- Can you tell what the character is doing?
- Are limbs overlapping too much?
- Are there interesting negative spaces between arms/legs?
B. Use Liquify to Adjust Silhouette
- Select the silhouette layer.
- Go to Adjustments → Liquify → Push.
Gently nudge:
- Arms away from the body
- Head tilt for more attitude
- Clothing or hair for better shape variety
Treat this like sculpting the overall pose.
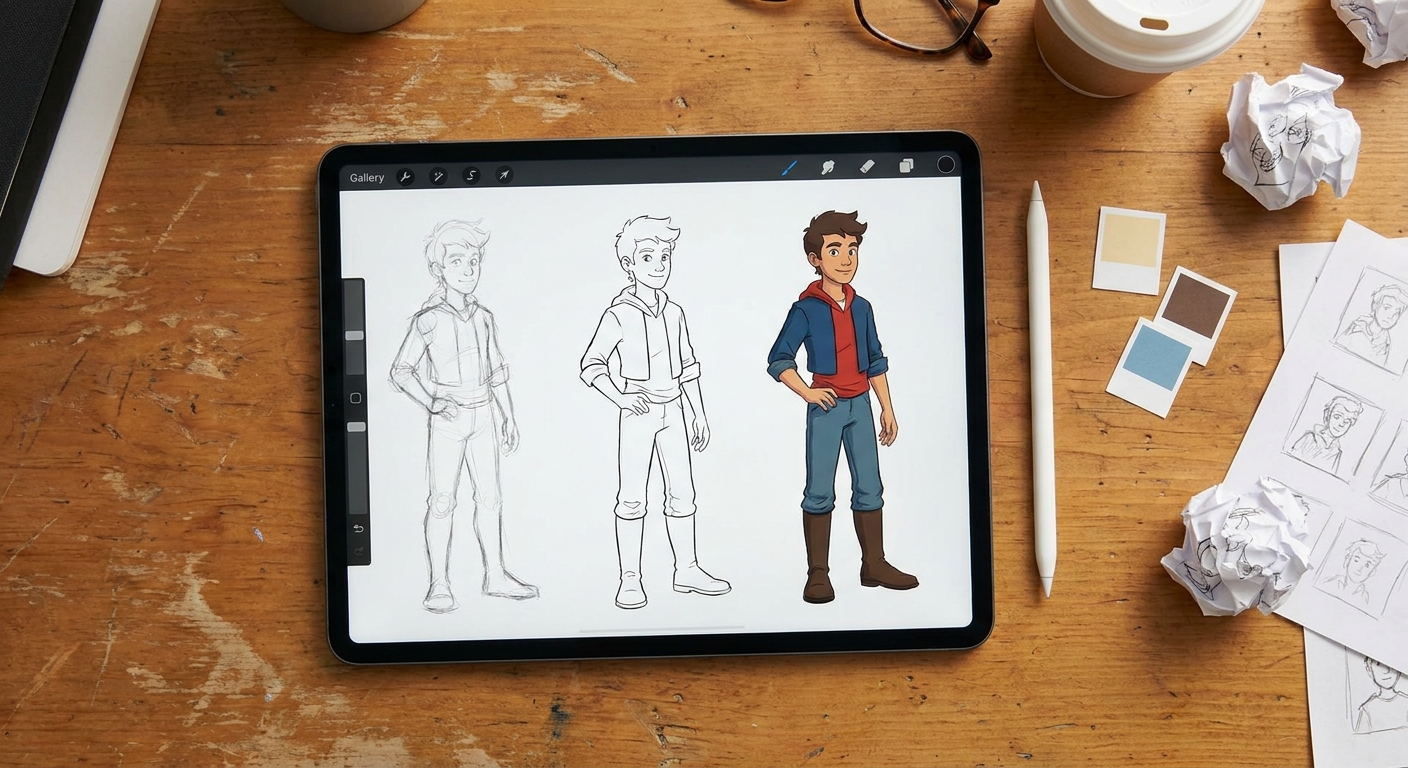
4. Inking Figures in Procreate Without Killing the Gesture
Line art often stiffens a drawing. Let’s avoid that.
A. Set Up Your Line Layer
- Group your construction into
02_SKETCH. - New layer on top:
03_LINEART.
Lower sketch opacity to ~25%.
B. Pick a Line Brush with Character
Try Dry Ink (Inking → Dry Ink) or a custom inking brush.
Settings to tweak:
- Stabilization: 10–25%. Enough to smooth jitters, not enough to straighten everything.
- Size Jitter/Pressure: Let pressure affect size, so fast/loose lines get varied weight.
C. Draw Through, Then Clean Up
Instead of carefully “tracing” your sketch:
- Use long, confident strokes.
- Allow lines to overshoot joints and intersections slightly.
Afterward, use the Eraser with the same inking brush to carve back clean intersections. This keeps lines lively and less mechanical.
5. Coloring Characters: Simple, Layered Workflow
A. Flats with Reference Layer
- Set your completed line art layer to Reference.
- Create a
04_FLATSlayer under it. - Use ColorDrop to fill in skin, hair, clothing, etc.
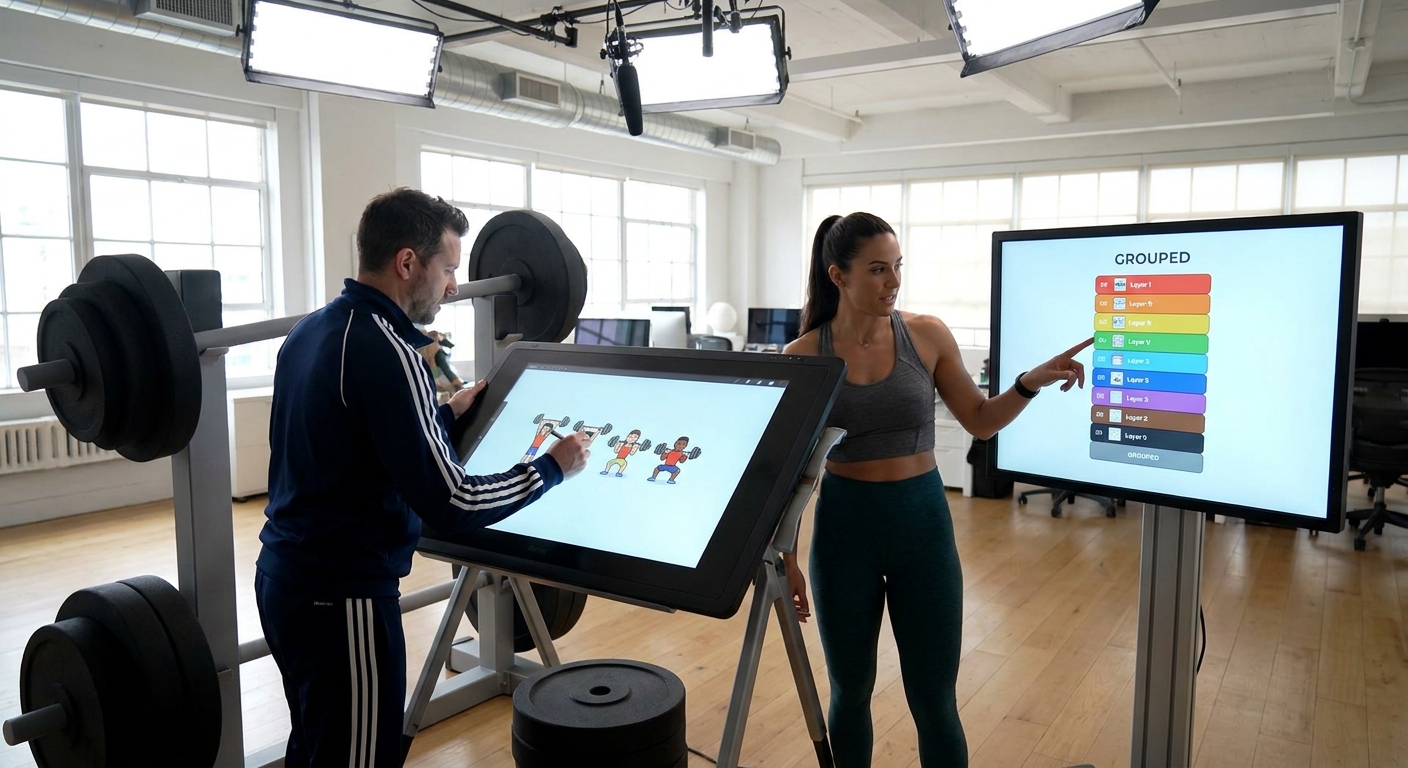
B. Group by Material
Create clipping mask layers above 04_FLATS:
Skin_SHADOWS (Multiply)Skin_LIGHTS (Screen)Clothes_DETAILHair_SHAPES
This lets you stylize each area differently:
- Softer rendering for skin
- Sharper cel shading for clothes
- Chunky shapes for hair
C. A Reliable Skin Shading Recipe
On Skin_SHADOWS (Multiply):
- Base: your skin color
- Shadow color: same hue, darker and slightly cooler
On Skin_LIGHTS (Screen) or Add:
- Highlight color: slightly warmer and lighter
Keep these on separate layers so you can push stylization later.
6. Using Procreate’s Symmetry for Characters (But Not Too Much)
Perfect symmetry can make faces look robotic. Use it smartly.
A. Symmetry Setup
- Go to Actions → Canvas → Drawing Guide.
- Tap Edit Drawing Guide → Symmetry.
- Pick Vertical and check Drawing Assist on your sketch layer.
Use this to block in:
- Basic head shape
- Eye line, nose line, mouth placement
B. Break Symmetry Intentionally
Once your face is roughly placed:
- Turn Drawing Assist OFF.
Nudge features:
- One eyebrow higher - Slight tilt to the mouth - Asymmetrical hair strands
This keeps Procreate’s symmetry from draining the life out of your characters.
7. Visual Thinking Framework: Rhythm, Flow, and Focal Points
As you refine your character, think about:
A. Rhythm Lines
Look for repeating and alternating curves:
- S‑curve of spine echoed by tail, scarf, or hair
- Opposing curves in limbs
Use a bright color on a separate RHYTHM layer to draw flowing arrows on top of your character. This is a visual map of energy.
B. Focal Point Planning
Decide: What should viewers look at first?
Use Procreate tools to guide the eye:
- Sharper detail at focal point
- Higher contrast (value and color) around face or hands
- Slight blur or lower contrast in distant areas (via Gaussian Blur on background copies)
Turn your canvas to grayscale temporarily (Adjustments → Hue, Saturation, Brightness → Saturation 0 on a duplicate layer) to check value contrast.
8. Fixing Proportions Non-Destructively
Rather than redrawing the entire figure, use selection tools.
A. Select and Transform
- Use Selection → Freehand to lasso the head.
- Tap Transform → Uniform or Distort.
- Resize or shift to fix proportion.
B. Liquify for Subtle Tweaks
- Go to Adjustments → Liquify → Push.
Gently nudge:
- Shoulder angles - Hip tilt - Hand placement
Use a large brush size and low pressure for natural-feeling changes.
9. Practice Drills: Build a Character Library
To make these techniques stick, set up a simple weekly routine.
Drill 1: 10 Gesture Poses (10 minutes)
- 30–60 seconds each
- Focus on line of action and main masses
Drill 2: 2 Constructed Figures (20 minutes)
- Choose your two favorite gestures
- Add construction, clean line art, and very simple flats
Drill 3: 1 Finished Bust or Half-Body (30–60 minutes)
- Apply the full workflow:
- Gesture
- Construction
- Line art
- Flats
- Lights/shadows
- Minor effects (rim light, soft background)
Collect your favorites into a Procreate stack called Character Library. Over time you’ll develop:
- Go-to proportions for your style
- Reusable palettes for skin, hair, and clothing
- A visual record of your growth
Procreate is more than a digital sheet of paper—it’s a pose lab where you can push, pull, and refine until your characters feel like they could step off the screen.
Keep your lines loose, your layers organized, and treat every canvas like a small life-drawing session—and your figures will start to look more alive with every swipe of the pencil.