If your Procreate files feel like a junk drawer named “Layer 1 copy copy”, you’re not alone. Layers can either:
Layers as Training Partners, Not Clutter
- Keep your artwork flexible and clean, or
- Bury you in confusion and lag.
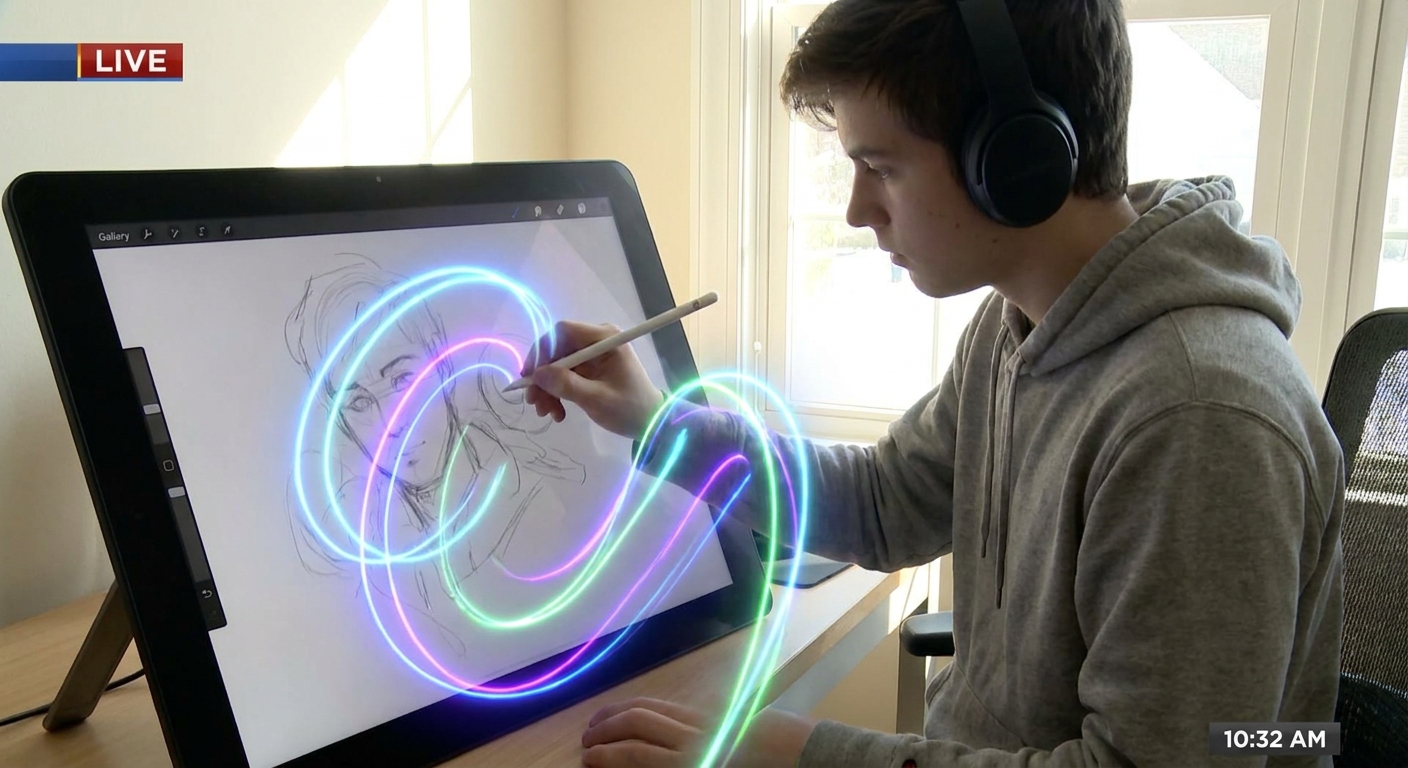
In this article, we’ll treat Procreate layers like we’re in a structured art class. You’ll learn layer strategies, blending modes, masks, and quick workflows that scale from sketchy doodles to finished paintings.
We’ll do this hands-on: open a canvas and follow along.
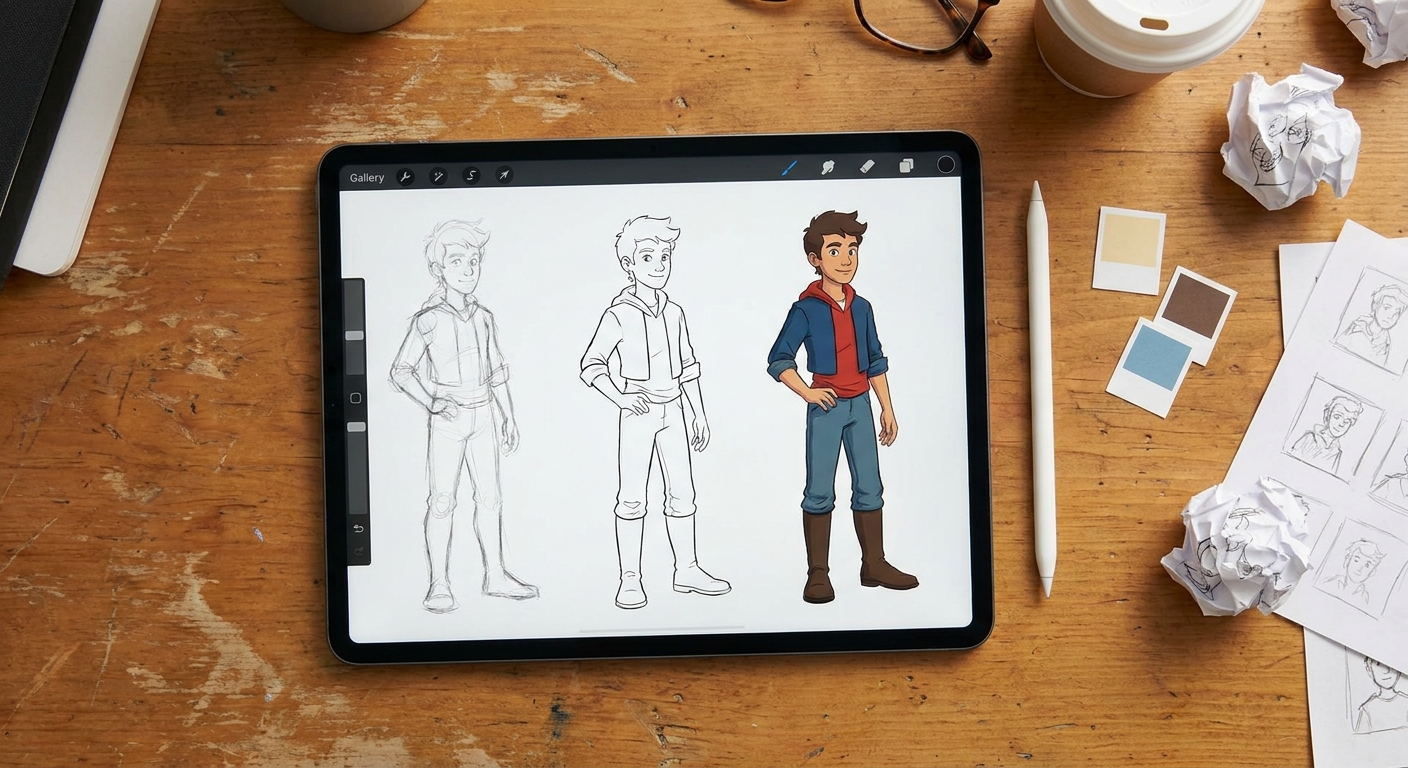
1. A Simple, Reusable Layer Stack Blueprint
Start with a base “stack” you can adapt to almost any painting.
Create these groups (tap + → Group, then rename):
01_REFERENCE
02_SKETCH
03_LINEART (optional)
04_BASE COLORS
05_LIGHT & SHADOW
06_EFFECTS
07_ADJUSTMENTS
Think of this stack as your “layer gym routine”—you can skip or add steps, but the structure keeps things sane.
2. Reference Layer Magic: Fill Flats in Seconds
Procreate has a special layer type called a Reference Layer that turns flatting into a breeze.
A. Set Up Your Reference Layer
- Put your clean line art in
03_LINEART. - Tap the line art layer → Reference.
Now Procreate can use these lines as selection boundaries even if you’re painting on other layers.
B. Speed-Flatting with ColorDrop
- Create a new layer under lineart inside
04_BASE COLORS→ renameFlats. - Pick a base color for skin.
- Drag the color from the top-right circle into an enclosed area.
If color is spilling out:
- Look at the ColorDrop Threshold: keep holding your pencil after the drop and slide left/right to adjust.
Repeat for hair, clothes, etc., all on the same Flats layer.
Why it’s great: You stay on one layer while filling, but the line art controls the edges.
3. Alpha Lock vs Clipping Mask: When to Use Which
Both keep paint inside existing shapes, but they behave differently.
A. Alpha Lock = Permanent Tattoo
- Activate: tap a layer → Alpha Lock (or two-finger swipe right on the layer).
- You can now paint only on existing pixels.
Best for:
- Adjusting flats late in the process
- Simple cel shading directly on a flat layer
Downside:
- You’re editing the original pixels. Harder to undo later.
B. Clipping Mask = Non-Destructive Makeup
- Create a new layer above your base.
- Tap it → Clipping Mask.
Now everything you paint is locked to the shape of the layer underneath.
Best for:
- Shadows and highlights
- Texture overlays
- Recoloring or pattern details
Habit: Use Clipping Masks for anything you might want to tweak; reserve Alpha Lock for confident, final-ish adjustments.
4. Shadow and Light: Blend Modes That Do the Heavy Lifting
Instead of manually finding the perfect shadow color every time, let blend modes help.
A. Core Blend Modes to Learn
On a Clipping Mask layer above Flats try:
- Multiply – for shadows
- Screen or Add – for highlights
- Overlay – for contrast and color richness
B. Quick Shadow Setup
- Add new layer above
Flats→ set to Clipping Mask. - Rename
Shadowsand set Blend Mode → Multiply.
Pick a shadow color:
- Take your base color, darken it, and nudge it a bit cooler. 4. Use a soft airbrush to paint shadows.
C. Quick Highlight Setup
- New Clipping Mask layer above
Shadows→ renameHighlights. - Set Blend Mode → Add or Screen.
- Pick a highlight color slightly warmer and lighter than base.
Paint the light-facing planes. Dial layer Opacity down (10–40%) to taste.
Experiment: Duplicate your highlight layer and switch between Add and Screen. Notice how Add is punchier and Screen is gentler.
5. Masks: Erase Without Fear
Forget aggressive erasing; Layer Masks let you hide and reveal without losing anything.
A. How to Add a Layer Mask
- Select a layer.
- Tap Mask.
A white mask thumbnail appears linked to your layer.
- Paint black on the mask to hide.
- Paint white to reveal.
- Paint gray for partial transparency.
B. Practical Uses
- Softly fade a character into mist without destroying edges.
- Carve light shapes out of shadow layers.
- Try multiple hair silhouettes on one painting.
Exercise:
- Create a solid colored rectangle.
- Add a mask.
- Use a soft brush to paint black across the bottom, creating a gradient fade.
You’ve just done a non-destructive vignette.
6. Organizing Complex Paintings: Color-Coding & Naming
When a piece crosses 20+ layers, organization is not optional.
A. Naming Conventions
Name layers with role and content:
Skin_FLATSSkin_SHADOWS (Multiply)Background_TEXTURE
Use prefixes to group by character or area:
CharA_Hair_FLATSCharB_Hair_FLATS
B. Color Tagging Layers
Tap a layer and assign a Layer Color Tag:
- Blue for line art & sketches
- Green for base colors
- Purple for shadows/highlights
- Orange for VFX/lighting
Scroll your layer stack; your eye will quickly track categories.
7. Visual Thinking Framework: Separate Design, Render, and Atmosphere
Think in three visual passes:
Design Pass – composition, shapes, line art (SKETCH, LINEART groups)
Render Pass – volume, light, material (BASE COLORS, LIGHT & SHADOW)
Atmosphere Pass – mood, color grading, glow, effects (EFFECTS, ADJUSTMENTS)
Create one new layer group for each pass and work top-down. This keeps you from endlessly reworking line art when you’re actually trying to fix lighting.
8. Effects Layer Tricks: Glows, Depth, and Focus
A. Glow with Add Mode
- In
06_EFFECTS, create a new layer. - Set Blend Mode to Add.
- Use a soft brush with a saturated color (e.g., cyan, warm orange).
Paint small areas where light sources are:
- Magic orbs
- Phone screens
- Neon signs
Dial opacity way down (5–25%). A little Add goes a long way.
B. Fake Depth of Field
- Group your background layers → duplicate group.
- On the duplicate, Merge Group to a single layer.
- Go to Adjustments → Gaussian Blur.
- Slide to blur just enough to lose detail.
Mask it:
- Add a mask to this blurred layer.
- Use a soft black brush on the mask to restore sharpness where your focal point is.
Now you’ve created a simple depth-of-field effect, Procreate-style.
9. Adjustment Layers: Lightweight Color Grading
Procreate doesn’t have Photoshop‑style adjustment layers, but we can mimic them.
A. Color Grading Overlay
- In
07_ADJUSTMENTS, create a new layer. - Fill with a color (warm orange for sunset, cool blue for night).
- Set Blend Mode → Soft Light or Overlay.
- Lower opacity to 5–20%.
This acts like a global color grade.
B. Local Adjustments with Selections
Want only the background cooler?
- Select background via Selection → Automatic or by lasso.
- Use Adjustments → Hue, Saturation, Brightness while selection is active.
This keeps your character untouched while the environment shifts.
10. Practice Circuit: A 30-Minute Layer Workout
Try this mini-project to train your new layer muscles:
5 min – Sketch & Line:
- Rough sketch in 02_SKETCH. - Quick line art in 03_LINEART.
10 min – Flats & Shadows:
- Use a Reference layer and one Flats layer. - Add Shadows and Highlights Clipping Masks.
10 min – Effects & Atmosphere:
- Add a glow layer. - Blur background copy for depth. - Add a Soft Light color grade.
5 min – Clean-Up:
- Rename layers. - Color-tag groups.
Repeat this with different subjects (portrait, object, environment). Each time, adjust your stack slightly until it feels like second nature.
When layers stop feeling like chaos and start feeling like teammates, Procreate becomes much more than a digital sketchbook—it becomes a controlled, flexible painting environment that adapts to any idea you throw at it.