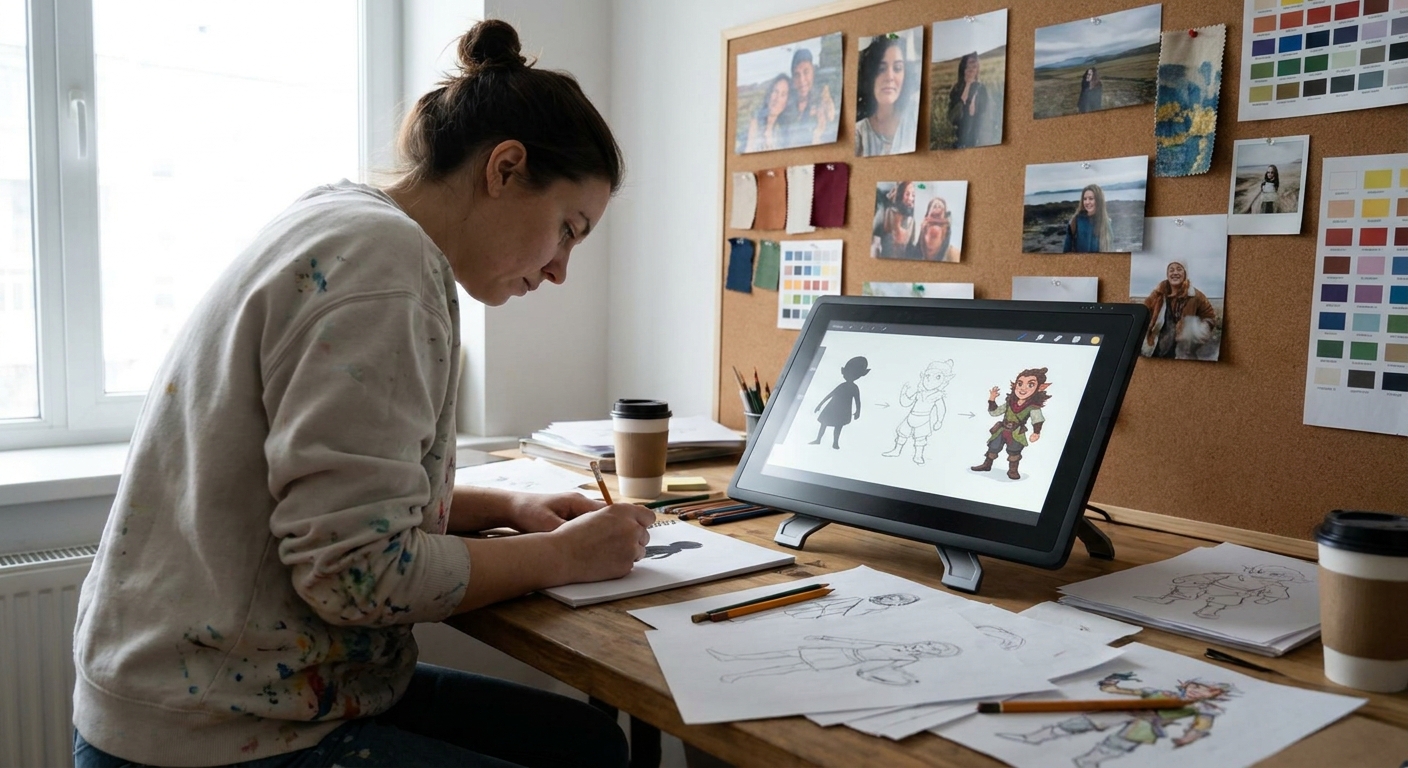
Many character designs look stiff because they’re built like mannequins: standing straight, arms out, neutral expression. Real characters move, lean, twist, and react.
Designing Characters From Movement, Not Mannequins
This guide flips the usual order: we’ll design characters starting from motion and building the design on top. You’ll learn:
- Gesture drawing techniques
- Pose-driven character exploration
- Digital tools that help (without killing spontaneity)
- Step-by-step workflows to go from action scribble to finished design
You can follow along in any major drawing app.
Step 1: Gesture Warm-Ups (5–10 Minutes)
Gesture is the energy and intent of a pose. Keep it fast and loose.
Brush Setup
- Brush: soft pencil / charcoal
- Opacity: 40–70%, pressure-sensitive
- Size: medium
- Stabilization: very low
Exercise: 30-Second Poses
- Make a new canvas (3000 x 2000 px).
- Set a timer for 30 seconds per pose.
- Fill the canvas with 12–20 mini poses.
- Use a single flowing line for the spine and limbs.
- Don’t draw clothes, faces, or fingers—just motion.
Use pose reference if you like, but exaggerate:
- Push curves
- Tilt shoulders and hips
- Let hands lead motion
Your goal: poses that feel alive even as stick figures.
Step 2: Pose as Personality
Different personalities stand differently.
Pose Personality Prompts
Draw mini-poses for each archetype:
- Confident leader: chest open, chin up, weight on one leg.
- Shy observer: shoulders inward, head angled down, limbs close.
- Chaotic rogue: off-balance, twists, asymmetry.
- Heavy bruiser: wide stance, lowered center of gravity.
Exercise: 4 Archetype Poses
- Divide your canvas into four quadrants.
- Assign one personality to each.
- Draw 5–8 tiny poses per personality.
Ask: If I only saw the stick figure, could I guess their vibe?
Save your favorites; they’ll become the base for full characters.
Step 3: Building Forms on Top of Gesture
Now wrap structure around your best poses.
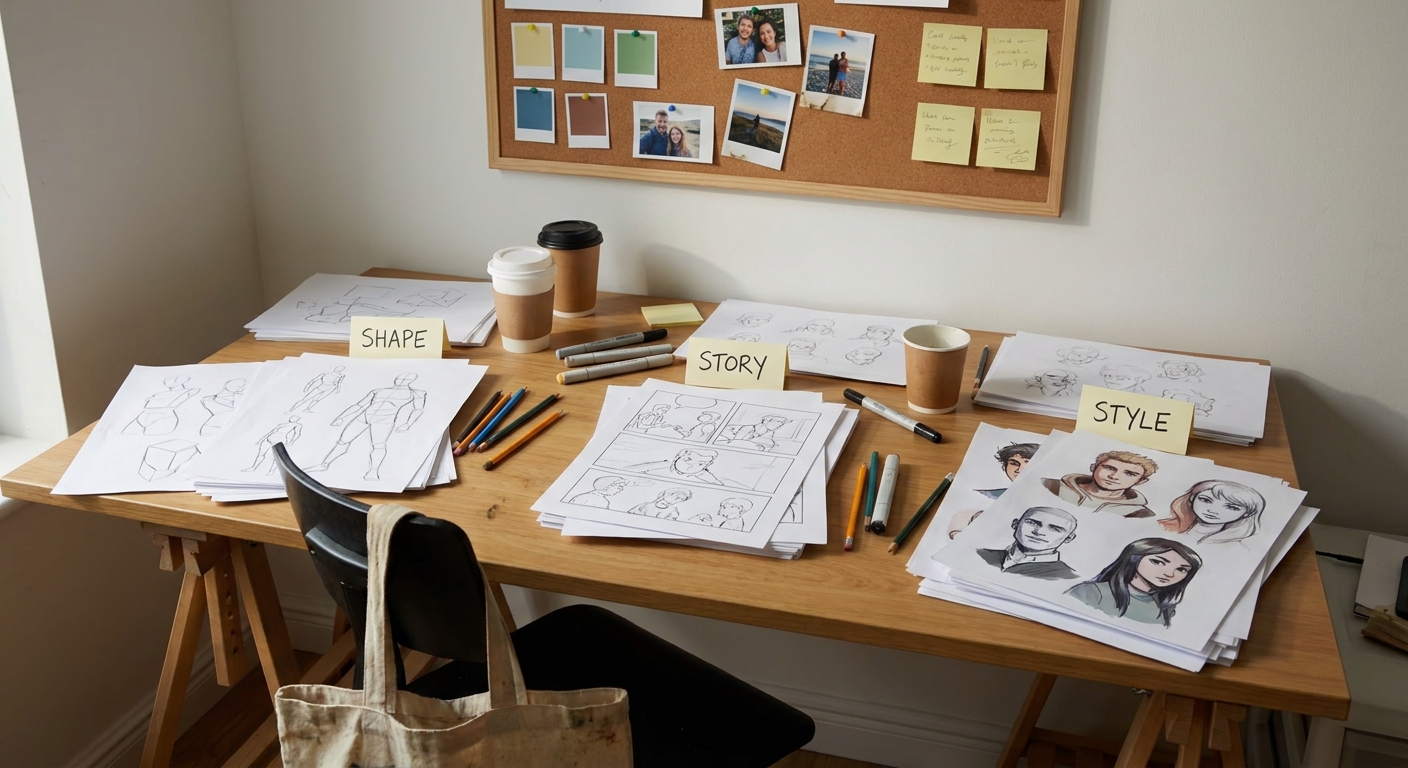
Visual Framework: Flow → Structure → Details
- Flow: loose gesture line, 1–2 strokes.
- Structure: simple cylinders, spheres, and boxes.
- Details: clothing, hair, gear.
Brush & Layer Setup
- Brush: slightly darker pencil
- New layer above your gesture layer
- Opacity for gesture layer: 15–30%
Exercise: 3 Pose Build-Ups
- Pick three gestures from Step 2.
For each, draw simple 3D forms:
- Box for ribcage - Cylinder for limbs - Sphere or box for head 3. Keep perspective consistent: choose a horizon line and tilt forms accordingly.
Keep checking the original gesture—don’t let the structure kill the energy. If the pose stiffens, undo and go simpler.
Step 4: Designing Costumes That Move
Costumes should follow the pose, not fight it.
Movement-Aware Clothing Checklist
- Does fabric bunch where joints bend (elbows, knees, waist)?
- Does weighty fabric lag behind motion (cloaks, skirts)?
- Do accessories swing or drag (belts, chains, bags)?
Exercise: Action Outfit Pass
- On a new layer above your forms, sketch clothing.
Focus on flow lines:
- Cloaks and coats following the arc of motion - Hair trailing behind head turns
Draw folds that hug curves and bends:
- At the waist in twists - Behind knees in crouches - Around shoulders in reaches
Keep pausing to squint: the silhouette should still scream “motion” even fully clothed.
Step 5: Using 3D/Transform Tools Without Killing Gesture
Digital tools can help refine perspective, but they can also flatten energy if overused.
Good Uses of Digital Helpers
- Procreate: QuickShape or assisted straight lines for weapons.
- Photoshop: Transform (Ctrl/Cmd+T) to slightly adjust limb length/angles.
- Clip Studio: 3D mannequins as a loose structural guide.
- Always draw the gesture first by hand.
- Use 3D or Transform to correct, not to generate the pose.
- After using a tool, redraw the adjusted form with your gesture brush to re-inject life.
Guidelines
Exercise: Pose Fix Without Stiffening
- Take a dynamic pose drawing that feels “off” in proportion.
- Use Transform or Liquify to nudge arms/legs/head.
- Lower the layer opacity.
- On a new layer, redraw the figure, focusing on fluid lines.
Compare before/after—aim for both better structure and kept energy.
Step 6: Action Silhouettes for Readable Characters
Dynamic poses must be readable even in silhouette.
Silhouette Rules for Action
- Separate limbs from the torso (no tangles).
- Try to show negative spaces between arms and body.
- Ensure weapons/props don’t merge with the character’s main mass.
Exercise: Black-Out Test
- Take one of your dynamic characters.
- Duplicate all character layers; merge the copy.
- Fill the merged copy with black.
- Put it on a flat mid-gray background.
Ask:
- Can you tell what they’re doing?
- Can you spot head, hands, and major props?
If not, adjust pose and limb placement (use Transform or redraw) until the silhouette reads clearly.
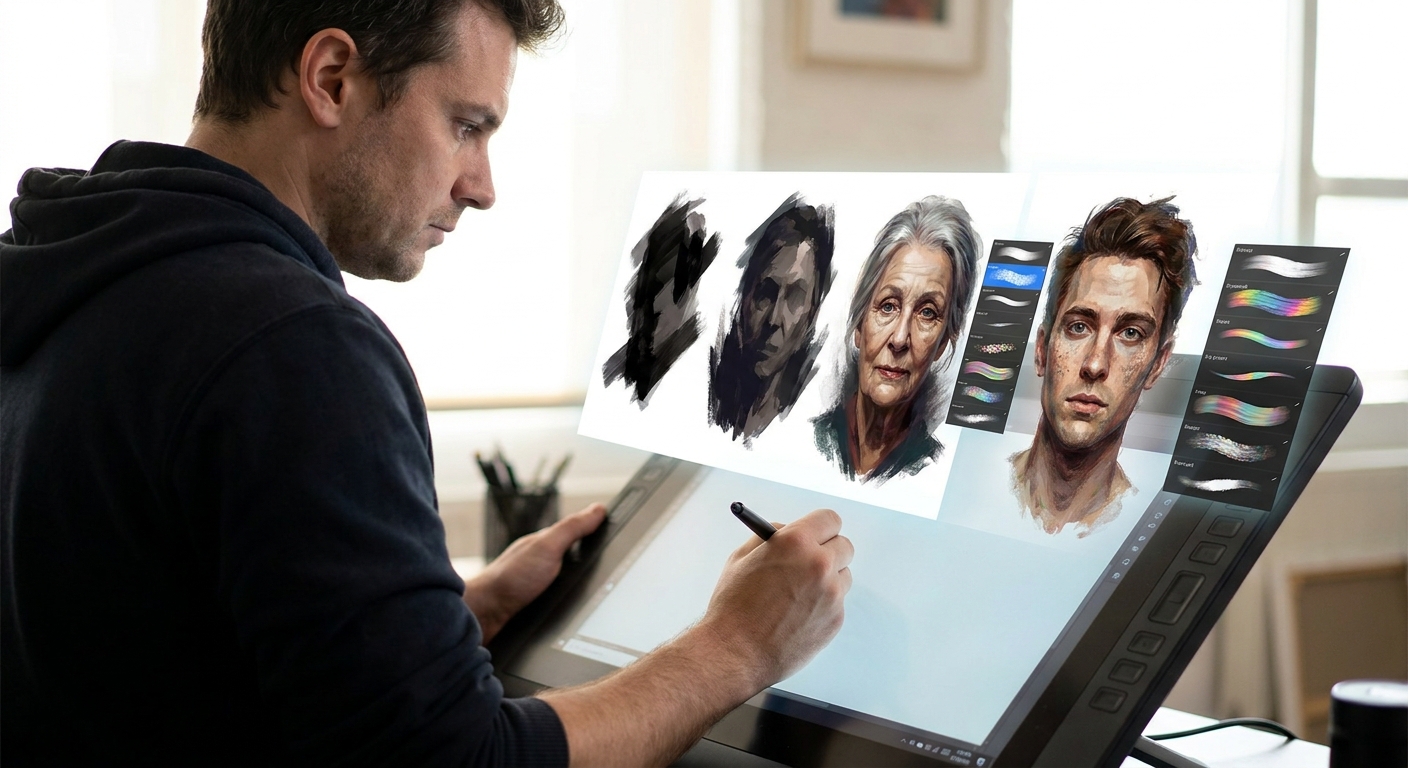
Step 7: Simple Lighting to Emphasize Motion
Lighting can reinforce the direction and intensity of movement.
Motion-Friendly Lighting Ideas
- Rim light: Enhances edges and direction.
- Top-down: Emphasizes form, good for jumps and falls.
- Directional side light: Suggests where the character came from or is going.
- Soft painter brush
- Opacity: 15–30%
- Blending mode suggestions:
- Shadows: Multiply layer
- Highlights: Overlay or Add/Glow at low opacity
Brush Setup for Lighting
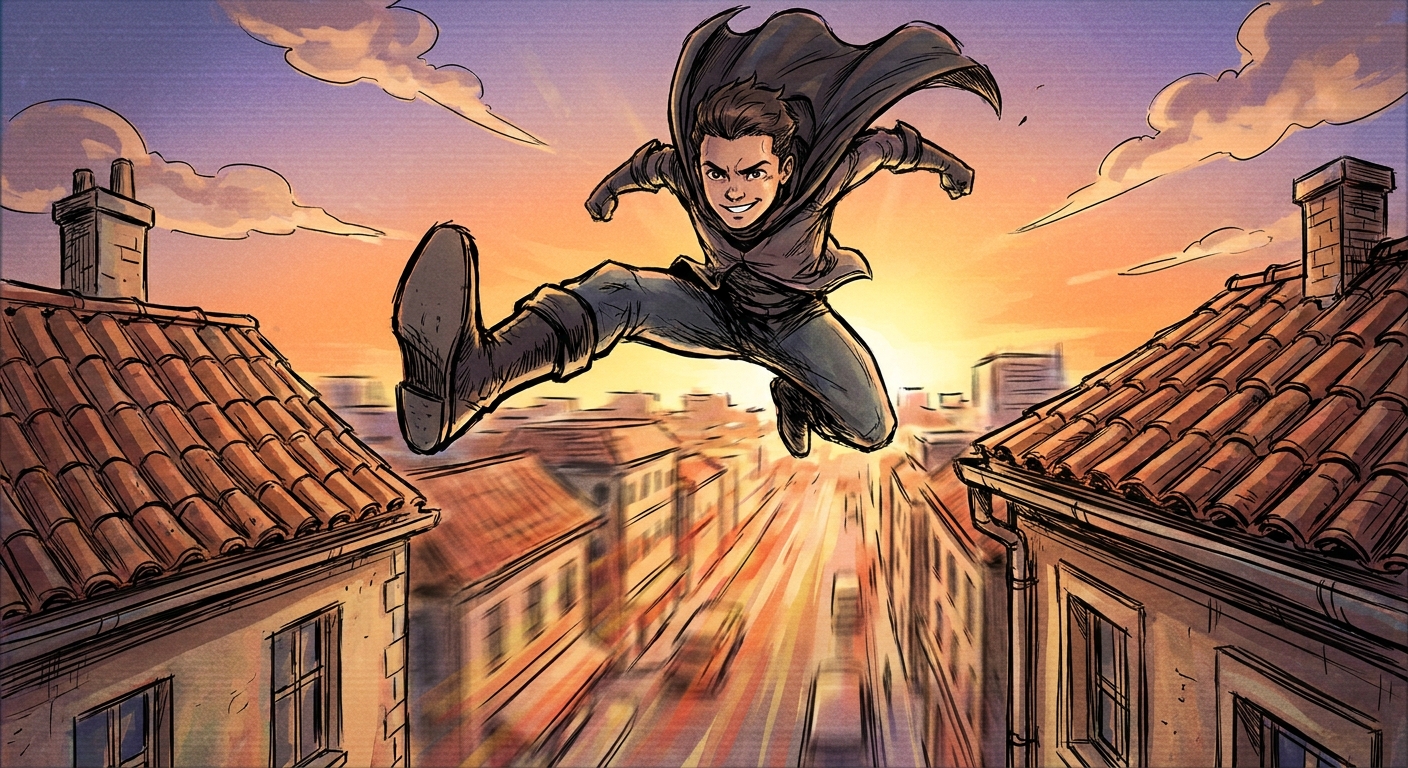
Exercise: Rim Light Run
- Pick a running or attacking pose.
- Decide the light is behind them.
- On a new layer set to Add or Overlay, clip to the character.
- Use a soft bright color (yellow, blue, etc.) to rim light the trailing edges:
- Back of limbs
- Top of shoulders
- Outer edge of hair
Watch how this pulls the character forward and clarifies the pose.
Step 8: Designing from Action Prompts
Instead of “design a knight,” try: “design a knight mid-swing, or mid-fall, or bracing for impact.”
Action Prompt List
- Leaping across a gap
- Pushing a heavy door
- Blocking a blow with a shield
- Casting a spell upward
- Sneaking with exaggerated caution
- Laughing with full-body involvement
Exercise: Three-Stage Action Sheet
- Choose one character concept.
Draw them in three actions on one page:
- Idle stance - Mid-action (push, punch, cast, etc.) - Reacting pose (hit, surprised, dodging) 3. Keep the face and main costume consistent; vary only pose and expression.
This turns a static design into a living personality.
Software Tips for Motion-Focused Design
Procreate
- Use Animation Assist to flip between pose variations like frames.
- Utilize Drawing Guides only for big perspective guides, not for every limb.
- Use Flip Canvas Horizontal frequently to spot stiffness.
- Make a gesture layer in a bright color, then lower opacity.
- Try the Onion Skin feature to compare multiple poses.
- Use 3D models only as a light base; always redraw freely over them.
- Use Mirror Tool to test pose balance.
- Set up custom shortcuts for brush size up/down to stay in flow.
Photoshop
Clip Studio Paint
Krita
Weekly Practice Plan: Motion-First Character Drills
Day 1–2: Gesture & Archetypes
- 30 gestures/day (30 seconds each)
- 10 personality-driven poses
- Pick 3 gestures, build structure and clothing.
- 1 character, 3 poses (idle, action, reaction).
- Black-out test + simple rim lighting.
- Look back: which poses feel stiff? Redraw 5 using more exaggeration.
Day 3–4: Build & Dress
Day 5: Action Sheet
Day 6: Silhouette & Lighting
Day 7: Review & Adjust
Repeat weekly, changing character archetypes and genres.
Designing from motion keeps your characters lively and honest to who they are. Let pose lead, and then let costume, details, and rendering catch up to the story the body is already telling.