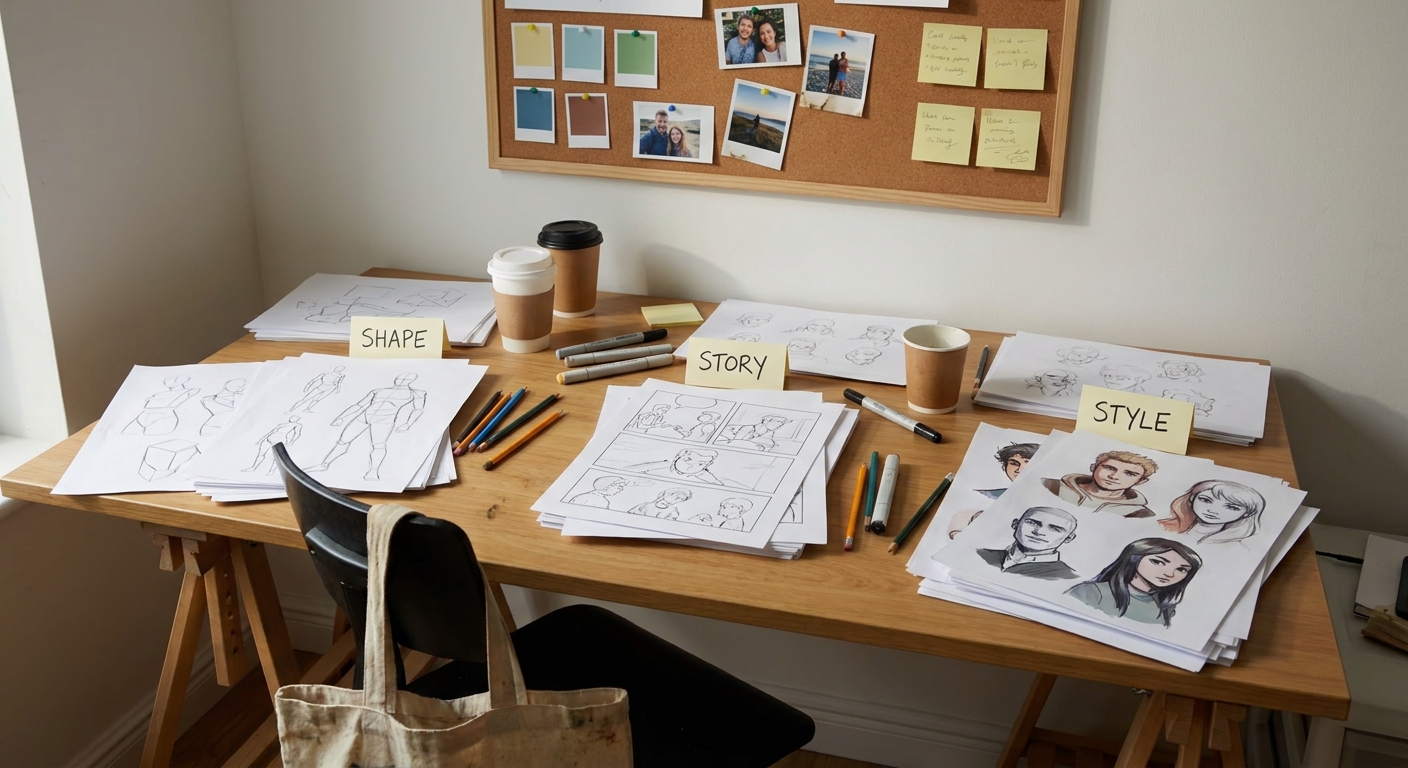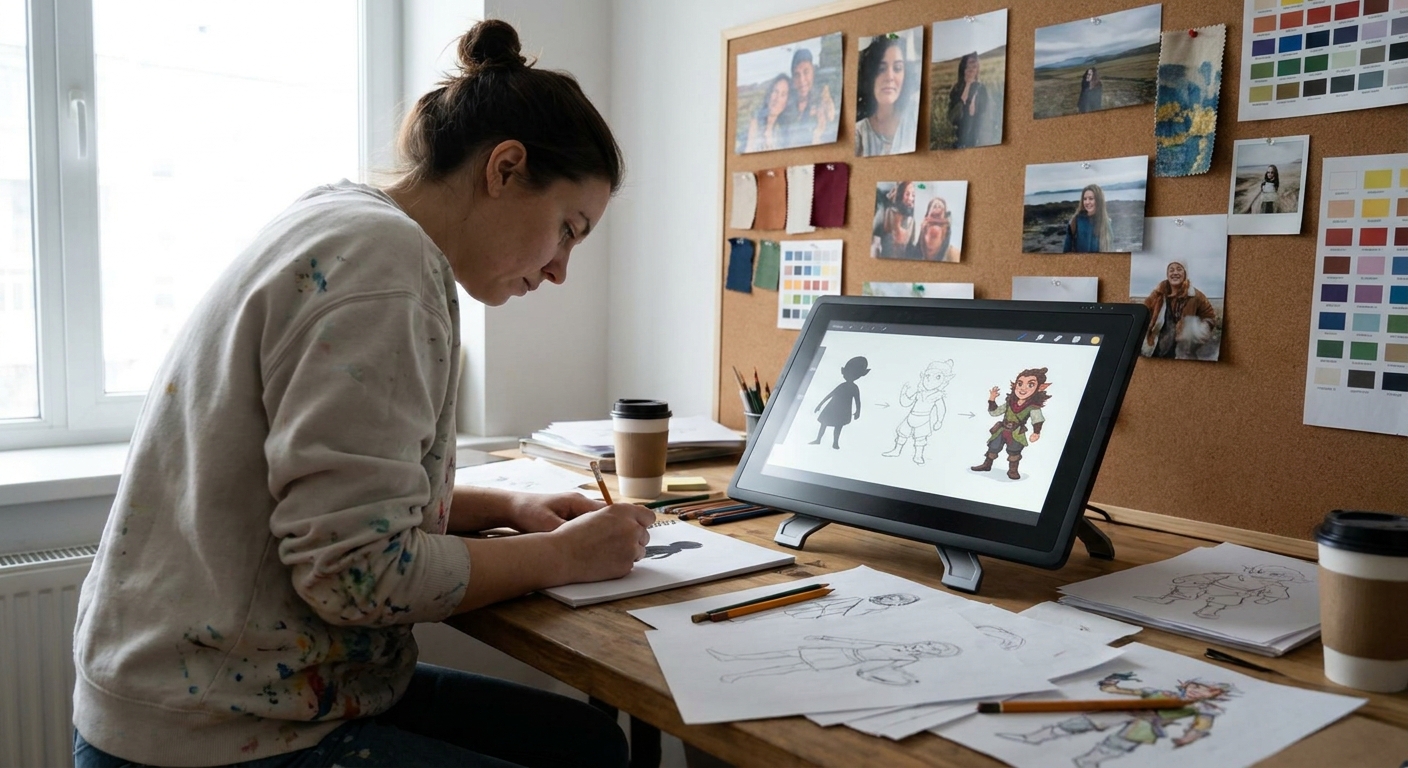
In this workshop-style guide, you’ll design a full character from abstract blob to polished concept sheet. You can follow along in Procreate, Photoshop, Clip Studio Paint, Krita, or any digital painting app. The focus is not just on what to draw, but how to think while you draw.
Overview
Grab your tablet, open your favorite software, and treat this like a class. Pause, try each step, and tweak the process to fit your style.
Step 1: Warm-Up With Shape-Only Thumbnails
We’ll start with silhouettes—no details, no faces—just shapes.
Why silhouettes?
Silhouettes force you to focus on overall readability, proportion, and attitude before you commit to details. A strong character should be recognizable even in pure black.
Setup
- Brush: Hard round or flat, 100% opacity, 80–100% hardness
- Size: Medium-large, enough to block big forms quickly
- Stabilization: Low (you want loose, energetic lines)
- Color: Black on a mid-gray background
Exercise
- Create a new canvas: 2000 x 2000 px at 300 dpi.
- Divide it into a 3x3 grid (visually or using guides).
- In each cell, block a character silhouette in 60–90 seconds.
Aim for 9 different body types and attitudes:
- Tall & thin - Short & boxy - Triangular “hero” torso - Round, soft forms - Exaggerated head - Massive upper body, tiny legs - Long legs, small torso - Hunched creature - Wide stance, power pose
Visual Thinking Framework: Big, Medium, Small
For each silhouette, consciously use B/M/S:
- Big shape: main body mass
- Medium shapes: head, arms, legs
- Small shapes: accessories, hair, gear
Ask: What is the biggest statement shape? Make it bold.
Circle 2–3 silhouettes that feel most interesting or visually readable.
Step 2: Add Gesture and Line of Action
Now we give your chosen silhouettes a spine.
Why gesture?
Gesture captures movement, energy, and story. It prevents stiff, lifeless characters.
Setup
- New layer above your silhouettes
- Brush: Soft pencil or textured ink
- Opacity: 60–80%
- Flow: 60–80%
- Size: Small-medium for loose sketching
Exercise
- Pick 2–3 silhouettes.
- On a new layer, sketch a single sweeping line that represents the character’s main motion (line of action).
- C-curve for calm, relaxed poses
- S-curve for dynamic movement
- Straight + angle for rigid, tense characters
Draw through the silhouette lightly, indicating
- Head direction (tilt and turn) - Ribcage and pelvis - Limb directions using simple cylinders or sticks
> Don’t “trace” the silhouette—interpret it. If you need to break the shape for a better pose, do it.
Step 3: Block in Simple Anatomy and Clothing Masses
We’re still not detailing. Think mannequin, not final art.
Visual Framework: Mannequin Method
Break the body into simple 3D forms:
- Head: sphere or cube
- Torso: box or wedge
- Hips: block or rounded box
- Limbs: cylinders
- Hands/feet: simple wedges
- Keep your pencil brush
- Slightly darker color than your gesture lines
- New layer above gesture
Setup
Exercise
- Draw over your gesture to define volumes.
Add simple clothing masses:
- Big coat as a single chunky shape - Dress as a bell or cone - Armor as blocks and plates 3. Use overlap to show depth (one form clearly in front of another).
Check proportions:
- Head size vs. body height - Length of arms vs. thighs - Foot size vs. body mass
Ask: If this was a 3D toy, would it stand without collapsing?
Step 4: Explore Personality Through Face and Props
Now we connect design with story.
Personality Checklist
Answer quickly for your character:
- What’s their dominant trait (confident, anxious, chaotic, gentle)?
- How do they react under stress?
- One thing they always carry?
- Eyes: shape and tilt communicate a lot.
- Upturned = optimistic or sly
- Downturned = tired or melancholy
- Brows: thick, thin, arched, straight
- Nose & mouth: big/small, sharp/soft
Face Design Tips
Software Trick: Face Variations
- Duplicate your character layer 3–4 times.
- Zoom in on the head area.
On each duplicate, try a different face design:
- Different eye shape and spacing - Different nose length/width - Different hairstyle silhouette
Use a small, responsive brush (pencil or ink) with:
- Size jitter: off
- Opacity: pen pressure on
Pick the face that best matches the personality you envisioned.
Step 5: Refine Line Art With Intentional Line Weight
We’ll transform the sketch into cleaner line work.
Brush Setup (Line Art)
- Hard round or inker brush
- Size: 3–6 px on a 2000–3000 px canvas
- Pen pressure: controls size, not opacity
- Opacity: 100%
- Stabilization: 10–25% (enough to smooth, not to freeze)
- Thicker lines:
- Outer contour
- Areas in shadow
- Where forms overlap
- Thinner lines:
- Interior details
- Facial features
- Textures & folds
Line Weight Rules of Thumb
Exercise
- Reduce opacity of your sketch to 20–30%.
- On a new layer, slowly trace with purpose.
- Vary line weight on curves and corners.
- Add small shape variations (nicks in armor, uneven hems, hair strays).
Ask: Can someone “feel” the weight and material from line alone?
Step 6: Flat Colors, Then Simple Lighting
Keep it simple: clean flats + one main light source.
Flats Setup
- Use a solid, non-textured brush
- Turn on Anti-aliasing
- Use Lasso or Fill tools for sharp shapes
Steps
- Put your line art on top, set to Multiply.
- Create a “Base Color” layer underneath.
- Fill the entire character with one mid-tone.
- Lock Alpha Lock / Transparency on the base.
Paint local colors:
- Skin - Hair - Clothing - Props
Use a limited palette: 3–5 main colors.
Simple Shadows
- Create a new layer above flats, Clipping Mask it.
- Set blending mode to Multiply.
- Choose a soft purple/blue or warm gray for shadows.
Soft round brush:
- Opacity: 20–40% - Pen pressure: controls opacity 5. Decide where the light is coming from and shade only one side.
Step 7: Micro-Iteration and Callouts
Stop polishing endlessly; instead, iterate intentionally.
Quick Iteration Hack
- Group your character layers.
- Duplicate the group 2–3 times.
On each copy, change one design element:
- Version A: different color scheme - Version B: alternate jacket or armor - Version C: different hairstyle/prop
Add Simple Notes (Callouts)
Use a small note brush in a bright color:
- “Thin, worn leather straps”
- “Fabric: heavy wool, frays at edges”
- “Eyes glow faintly in dark”
This turns your drawing into a usable character concept sheet.
Software-Specific Tips (Quick Reference)
Procreate
- Use QuickShape for clean armor plates and belts.
- Create a custom “Silhouette” brush: solid, no pressure size.
- Use Reference Layer for fast flat color fills.
- Turn on Shape Dynamics for line weight control.
- Use Lasso + Shift+F5 (Fill) for crisp clothing blocks.
- Use Smart Objects for heads you want to reuse and tweak.
- Try Vector Layers for editable line art.
- Use Pose 3D models as rough gesture references (don’t trace mechanically—exaggerate).
- Build a Brush Preset for sketch vs. ink vs. paint.
- Use Assistant tools (ellipse, perspective) for props and gear.
Photoshop
Clip Studio Paint
Krita
What to Practice Next
Repeat this full workflow, but each time:
- Change the archetype (hero, villain, healer, merchant, creature).
- Focus on a different big shape: circle-based, triangle-based, rectangle-based.
- Limit yourself to a 10-minute or 30-minute design sprint.
Character design is a muscle—silhouettes, gesture, simple anatomy, personality, and smart iteration will build it. Treat every pass as a new experiment, not a test.