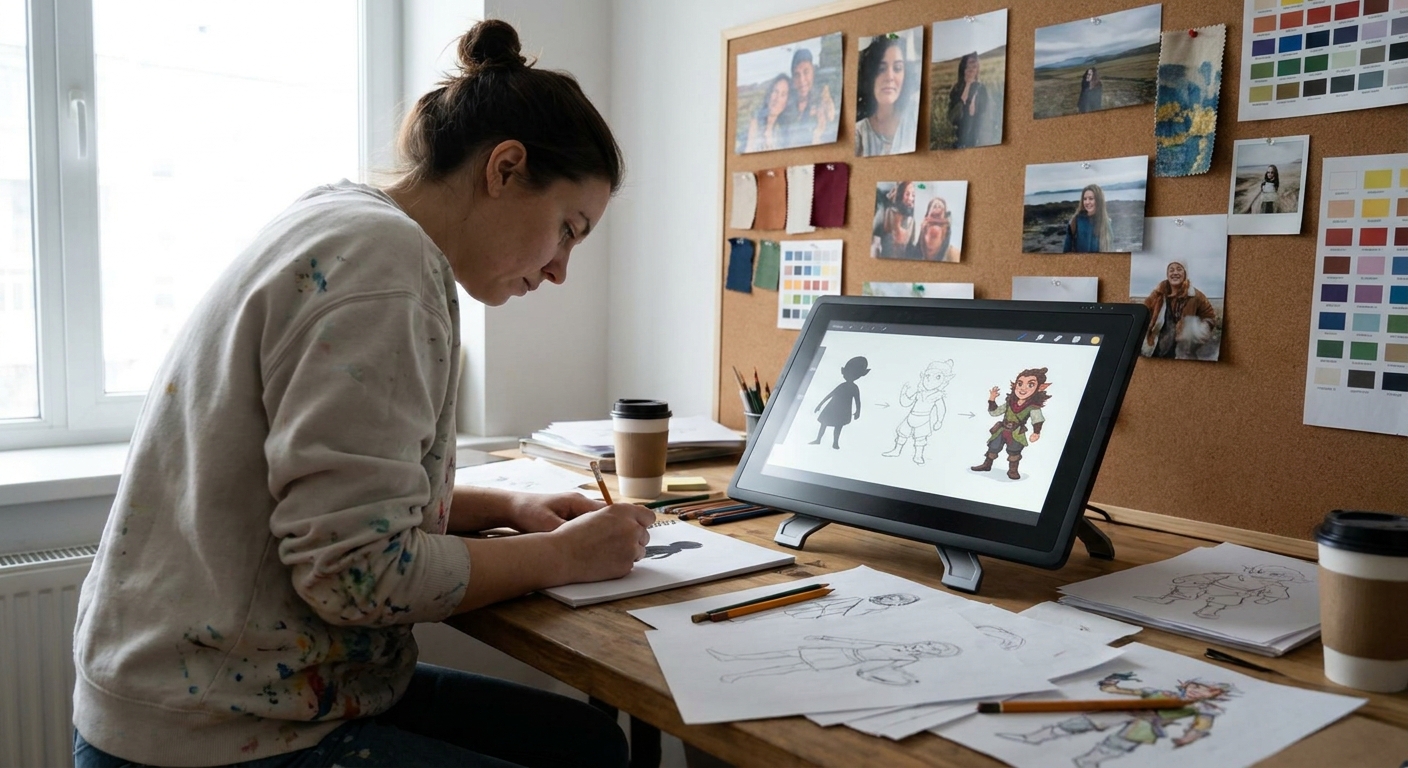
Think about characters you can recognize from a distance: a tiny silhouette on a poster, a quick doodle in the margin. They’re memorable because their shape, story, and style work together.
Why Some Characters Stick in Your Brain
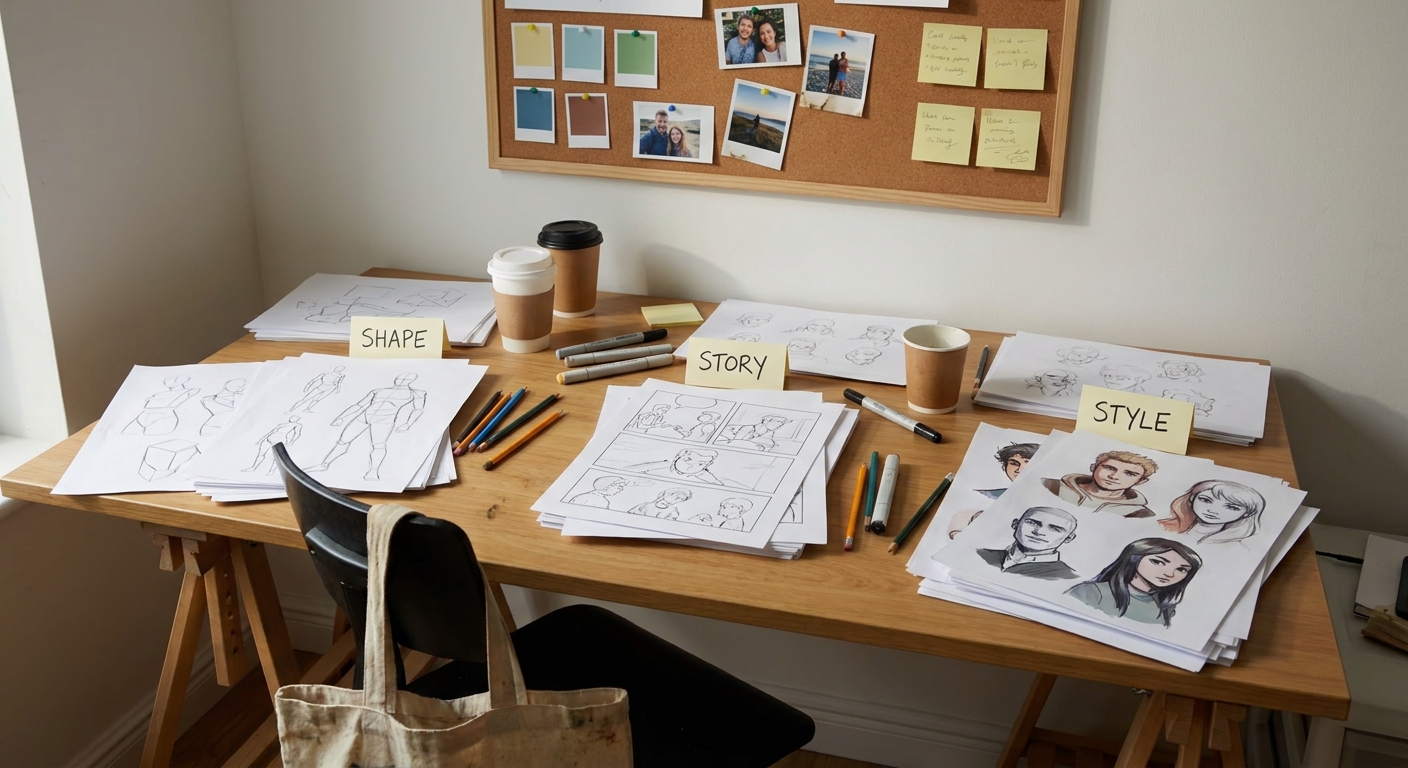
This article breaks character design into a practical framework you can apply today:
- Shape: Visual structure and readability
- Story: The life behind the design
- Style: The visual language you choose
You’ll get step-by-step exercises, software setups, and visual thinking prompts suitable for beginners and pros alike.
Part 1: SHAPE – Designing With Big, Bold Forms
Before you care about zippers or eyelashes, sculpt the big forms.
The Shape Language Trio
Most characters are built from a combination of:
- Circles – soft, cute, friendly, naïve
- Squares – solid, reliable, stubborn, strong
- Triangles – sharp, unstable, dangerous, dynamic
Exercise: Pure Shape Characters
Goal: Design 3 characters using only one dominant shape each.
- Create a canvas: 3000 x 2000 px.
- Divide into three columns: Circle, Square, Triangle.
For each column, sketch 3–4 quick characters where:
- 70% of the body is the chosen shape - 20% is the second shape - 10% is the last shape
Brush settings (sketch phase):
- Brush: Soft pencil
- Opacity: 60%
- Size jitter: off
- Pen pressure: affects opacity
- Does a circle-based character feel friendly?
- Does a triangle-heavy character feel more aggressive or agile?
Ask:
Digital Trick: Shape Construction Using Tools
- Procreate: Draw a rough circle → hold → QuickShape to refine. Duplicate, resize for body and head.
- Photoshop: Use the Ellipse/Rectangle/Polygon Tool on a separate layer. Transform (Ctrl/Cmd+T) to stretch into more expressive forms.
- Clip Studio/Krita: Use vector shapes for easily editable forms.
Treat these shapes like clay. Stretch, squash, tilt.
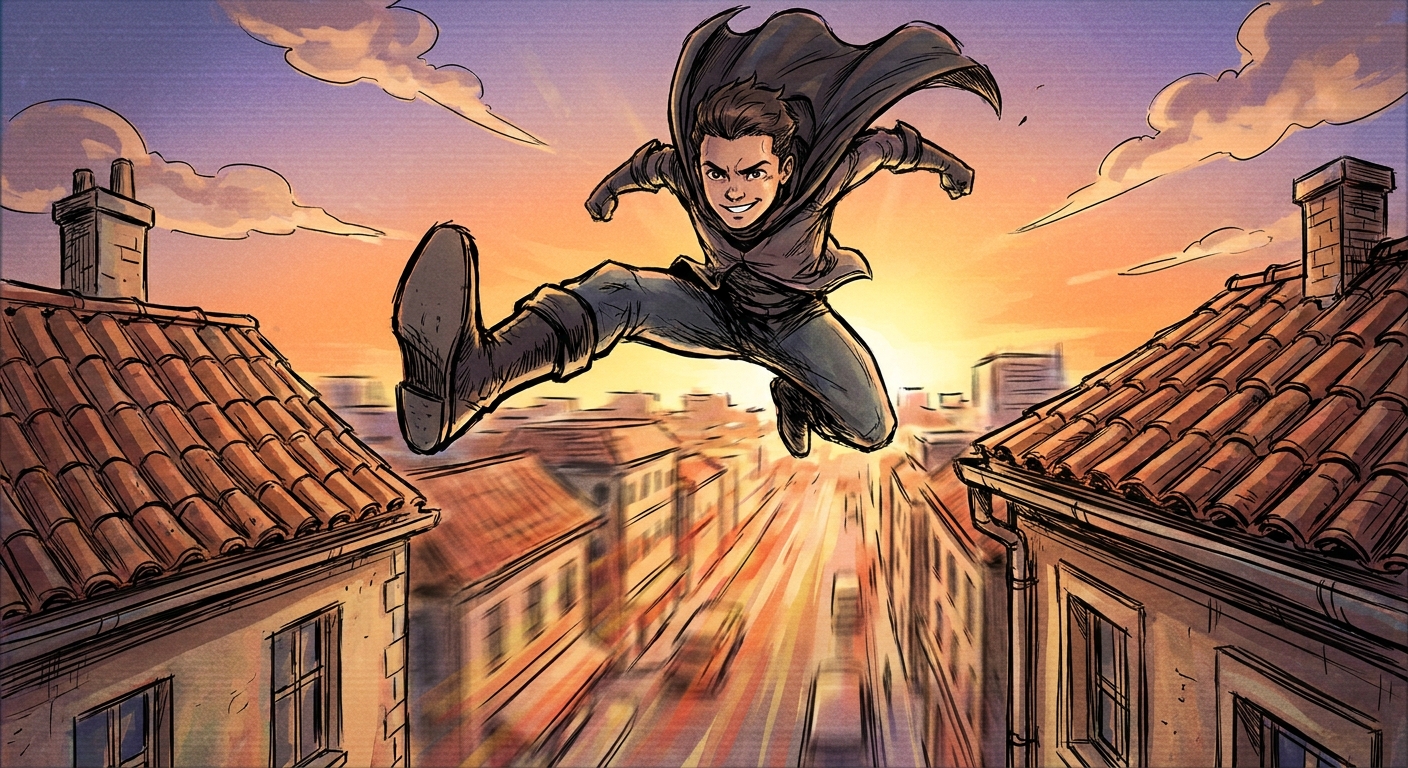
Part 2: STORY – Let Personality Drive Design Choices
A character is more than a cool silhouette. Story glues their design together.
The One-Sentence Bio
Before details, write:
> "[Name] is a [role] who wants [goal], but struggles with [flaw]."
Examples:
- Lira is a street mage who wants respect, but struggles with impulsiveness.
- Hask is a retired soldier who wants peace, but struggles with guilt.
Keep this near your canvas. Every design choice should echo it.
Visual Story Prompts
Ask for each element:
- Hair: How much time do they spend on it? Are they practical or vain?
- Clothing: Do they dress for status, survival, or comfort?
- Props: What’s the one object they’d never leave behind?
- Posture: Do they occupy space confidently or shrink into it?
Exercise: Story-Driven Redesign
- Pick a character you’ve already drawn.
- Write their one-sentence bio.
On a new layer, in a bold color, annotate:
- What matches their story? - What feels random or generic?
Redesign only the mismatched parts:
- Change clothing to fit role & environment. - Adjust posture to show confidence/fear. - Add or remove accessories that don’t tell your story.
You’ve just done your first story pass.
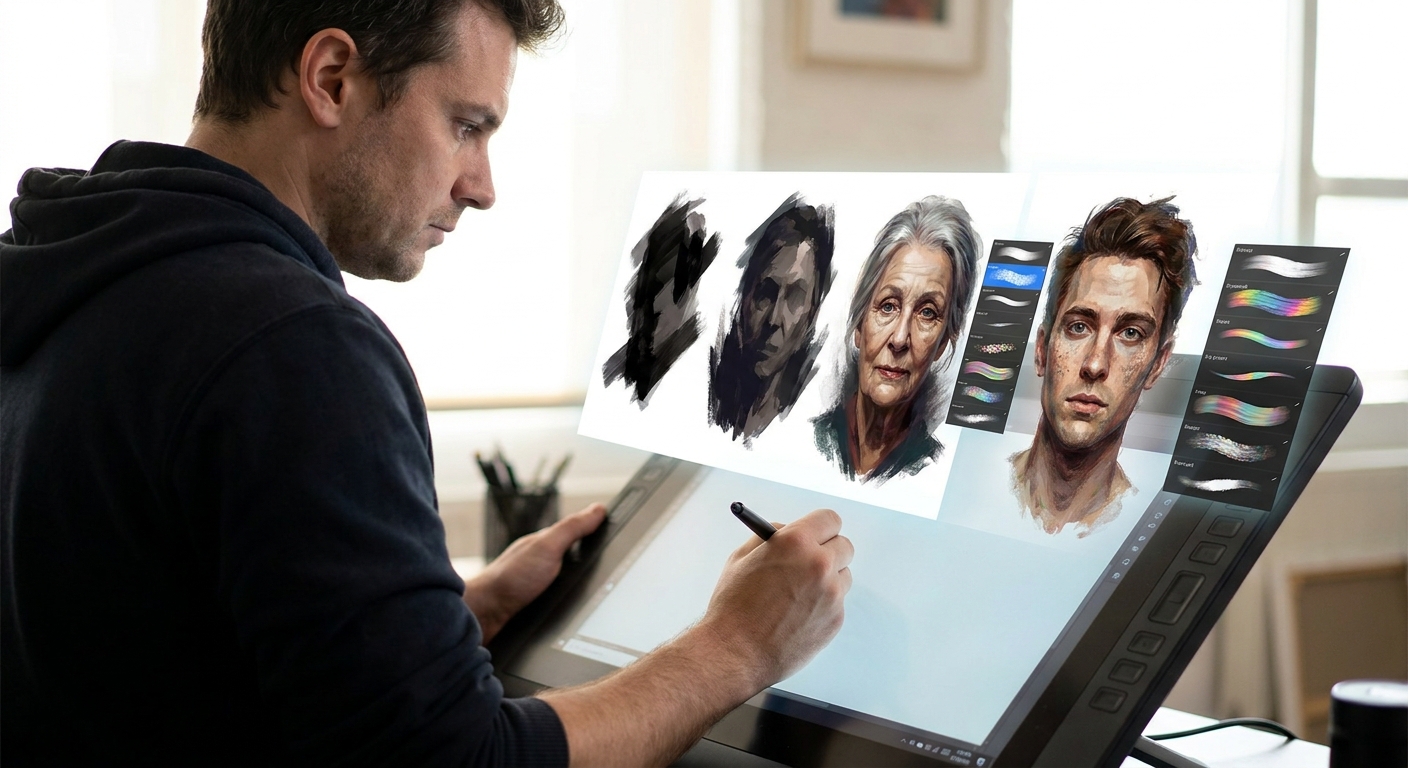
Part 3: STYLE – Choosing Your Visual Language on Purpose
Style isn’t just “anime” vs “realistic.” It’s the rules you choose for:
- Proportions
- Simplification vs detail
- Line quality
- Color and value
The Style Triangle
Identify where your design sits between:
- Realistic – observed anatomy, subtle details
- Graphic – bold shapes, flat colors, clear icons
- Expressive – exaggerated forms, dynamic lines, wild color
You can intentionally slide between these points.
Exercise: Three-Style Remix
- Take one of your shape+story characters.
Create three copies side by side:
- Version A (Real-ish): more accurate anatomy, realistic folds. - Version B (Graphic): bold outlines, flat colors, minimal shading. - Version C (Expressive): exaggerated poses, vibrant or weird colors.
Brush setups:
- Real-ish: textured brush with pen pressure for opacity.
- Graphic: hard round, no opacity jitter, thick outlines.
- Expressive: rough ink brush with speed lines and texture.
Compare: Which version best supports their personality and world?
Part 4: Building a Consistent Cast
Designing a single cool character is one thing. Designing a cast that feels like they belong together is another.
Cohesion Checklist
Across your cast, aim to unify at least 2 of these:
- Shape language (all slightly stylized heads, or similar limb thickness)
- Line style (all thick outlines, or all painterly edges)
- Color logic (shared accent color, similar saturation level)
- Design motifs (recurring symbols, patterns, or materials)
Exercise: Family of Shapes
Design a small cast of 3–5 characters:
- Choose one shared motif (e.g., all have triangular shoulder elements, or all wear the same guild emblem).
Make their primary shapes different:
- Round healer, square tank, triangular rogue, etc.
Keep one style element unified:
- Same line weight approach - Same shading style
This contrast + cohesion combo makes your world feel intentional.
Part 5: Translating the Framework Into Your Software
Layer Strategy for Clean Iteration
Use a consistent layer stack, e.g.:
Notes / Bio
Guides (gesture, perspective)
Shape block-in
Anatomy & clothing sketch
Refined line art
Flats
Shadows
Highlights & FX
Group them into folders: _01_Sketch, 02_Line, 03_Color_. This makes experimentation painless.
Brush Presets to Save Time
Create a Character Design Brush Set with:
- SILHOUETTE: hard, opaque, no pressure size
- SKETCH: soft pencil, low opacity, pressure-sensitive
- LINE: inker, size by pressure, no opacity change
- PAINT: textured round, opacity by pressure
Save these as named presets in your software of choice so you’re never hunting for tools mid-flow.
Part 6: Practice Routines to Grow Fast
20-Minute Shape Drills
- 5 minutes: pure silhouettes (no faces, no details)
- 5 minutes: add simple anatomy to 3 silhouettes
- 10 minutes: pick 1 and push story & style
- “All triangle villains” week
- “Circle-only sidekicks” week
- “Square mercenaries with one shared emblem” week
Weekly Challenge Ideas
Keep each design on one page with 3 notes about shape, story, and style choices.
Bringing It All Together
Whenever you feel stuck, walk through this sequence:
Shape: Does the silhouette read? Is there a clear dominant form?
Story: Does every design element support who they are?
Style: Are you using a consistent visual language?
Treat this like a loop, not a line. Adjust shapes to better tell the story. Nudge style to fit the world. The character gets stronger each pass.
Your goal isn’t to design a perfect character; it’s to design a character that could only exist in your world, with your visual logic. Shape, story, style: keep cycling, keep experimenting.