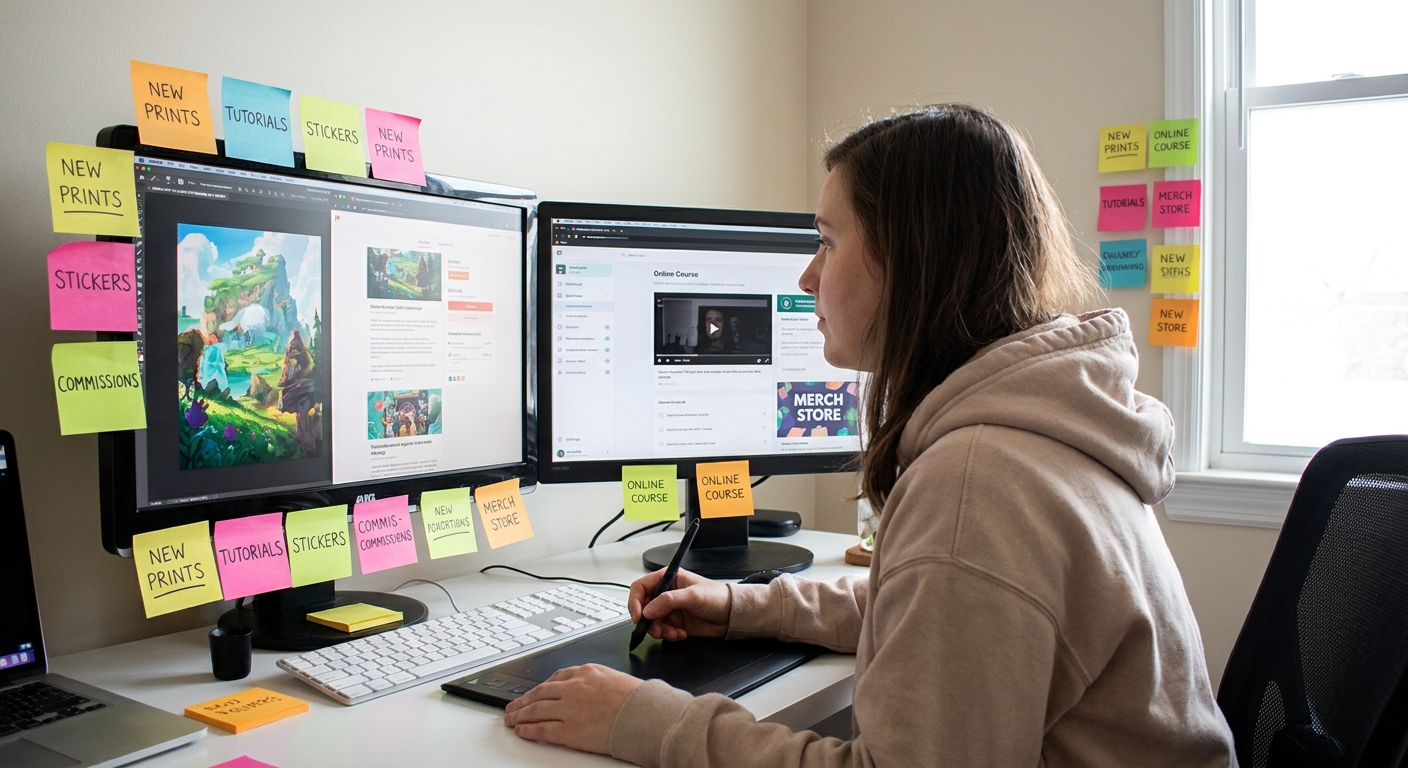
You can be wildly creative and run a sharp digital art business. Think of your art as a product container for your ideas, not a cage.
Introduction: Treat Your Art Like a Product (Without Killing the Magic)
In this class-style guide, we’ll walk step-by-step from raw artwork to a sellable product line, with:
- Practical pricing formulas
- Concrete software workflows (Procreate, Photoshop, Clip Studio, Blender)
- Export presets and brush tips that make your art more "sellable"
- Visual thinking frameworks, like the Product Pyramid and Style Triangle
Grab a sketchbook (physical or digital) and treat this like a workshop.
Step 1: Define Your Product Pyramid
Before you design another poster, decide what you’re actually selling.
The Product Pyramid Framework
Draw a triangle and split it into three levels:
Base: Accessible Products (Bread + Butter)
- Stickers, phone wallpapers, emotes, printables - Price: $2–$20
Middle: Premium Pieces
- Limited prints, canvas prints, merch bundles, clipart packs, brushes - Price: $25–$150
Top: High-Touch Offers
- Commissions, licensing, workshops, mentorship - Price: $150–$2,000+
Exercise (10 minutes):
- Fill each level with at least 3 concrete product ideas using your existing skills.
- Circle the one product you could create in a weekend.
This pyramid becomes your business plan in one drawing.
Step 2: Design Art That Prints and Displays Well
You don’t have to change your style, but you do want artwork that:
- Scales cleanly
- Prints without muddy colors
- Looks crisp on common devices
Recommended Canvas Settings (Print)
For posters, prints, and merch:
- Resolution: 300 DPI
- Common sizes:
- 8"×10" → 2400×3000 px
- 11"×14" → 3300×4200 px
- A3 (11.7"×16.5") → 3508×4961 px
- Color mode:
- Work in RGB (sRGB IEC61966-2.1 profile)
- Convert to CMYK only if your printer requires it
File → New → Preset: Print → 300dpi- Color profile: sRGB
Gallery → + → New Canvas- Width: 3508 px, Height: 4961 px, DPI: 300
Photoshop / Clip Studio:
Procreate:
Recommended Canvas Settings (Digital Products)
For wallpapers, web comics, or social content:
- Resolution: 72–144 DPI (doesn’t matter much for screens, but 144 gives crispness for some markets)
- Common sizes:
- 1920×1080 (HD)
- 2560×1440 (QHD)
- 1080×1920 (vertical phones)
Create master files at higher resolutions (e.g., 3000–4000 px on the long side), then export smaller versions.
Step 3: Brush Choices That Make Products Pop
Beautiful brush textures can turn into muddy prints if you’re not careful.
General Brush Settings for "Sellable" Art
Use these as starting points and tweak to taste.
Line Art & Logos
- Software: Procreate / Photoshop / Clip Studio
- Brush Type: Hard round or slightly textured inking brush
- Settings:
- Size: 2–12% depending on canvas size
- Stabilization (Procreate:
Stabilization): 10–25 - StreamLine (older Procreate): 20–40%
- Opacity: 100%
This gives clean, reproducible lines that look sharp in both small stickers and large prints.
Painterly Prints
- Use a textured brush, but:
- Turn on Shape Dynamics (Photoshop) with minimal jitter (5–15%)
- Keep Opacity Jitter low (0–5%) for cleaner blending
- Set Minimum Opacity to 60–70% so details stay clear in prints
Avoid These for Products
- Extremely low-opacity sketch brushes as final lines
- Ultra-tiny brushes on huge canvases (they vanish on print)
Hands-on Exercise:
- Draw a small character or object.
- Export it as PNG at 1000 px and 4000 px.
- Zoom out on both. Do details still read? If not, slightly increase brush size and simplify forms.
Step 4: Export Like a Pro (So Platforms Don’t Butcher Your Files)
File Formats by Product Type
- Print-on-demand (prints, shirts):
- PNG (for transparent designs)
- JPG (for full-bleed prints)
- At least 300 DPI
- Digital downloads (wallpapers, printables):
- JPG (smaller file, good for customers)
- Optional: PDF for printables
- Emotes / Icons:
- PNG, 72 DPI, sizes: 112 px, 56 px, 28 px (for platforms like Twitch)
Export Presets to Save Time
Photoshop:
File → Export → Export As…- Set:
- Format: JPG
- Quality: 80–90
- Convert to sRGB: On
- Save the setting as a preset (bottom-left dropdown)
Actions (wrench) → Share- Tap PNG or JPEG
- Name preset folders like
Print_300dpi,Web_1080pxin your device storage.
Procreate:
Batching exports like this turns a 1-hour chore into a 10-minute routine.
Step 5: Choose Your First Sales Channel
Don’t try every platform at once. Test one product on one channel.
Platform Quick Comparison
- Etsy – Great for prints, stickers, printables
- Pros: Built-in audience, search traffic
- Cons: Fees, competition
- Gumroad / Ko-fi – Great for digital packs, brushes, tutorials
- Pros: Very creator-friendly, easy setup
- Cons: You must bring your own traffic
- Print-on-demand (Redbubble, Society6, Printful)
- Pros: No inventory, auto-fulfillment
- Cons: Lower margins, inconsistent print quality
- 1 physical product line on Etsy or print-on-demand
- 1 digital product (wallpaper pack / brush set) on Gumroad or Ko-fi
Starter Recommendation:
Step 6: Visual Thinking Framework – The Style & Market Venn Diagram
Draw two overlapping circles:
- Left: "Things I Love to Draw" (make a bullet list inside)
- Right: "Things People Already Buy" (look up Etsy / ArtStation / Gumroad and jot down themes)
Where they overlap is your marketable style niche.
Examples of overlaps:
- Cozy fantasy interiors
- Cyberpunk character portraits
- Kawaii food icons
- Mythical creatures in flat design
Your goal is not to copy trends, but to anchor your style in a space where money already moves.
Step 7: Price Your Work Without Guessing
Simple Pricing Formula for Digital Products
Use this quick structure:
> Base Price = (Hours × Hourly Rate) ÷ 10
Why divide by 10? Because you’ll sell the digital product multiple times.
Example:
- 5 hours to create a wallpaper pack
- Target hourly rate: $25
- (5 × 25) ÷ 10 = $12.50 → price at $12–$15
Pricing Physical Prints
> Print Price = (Cost to Produce × 3) + Time Premium
Example:
- Printing + shipping to you: $7
- ×3 = $21
- Time premium: +$4
- Final: $25 for a small print
Start there, and adjust based on demand.
Step 8: Show Up Like a Teacher, Not Just a Seller
People buy from artists they feel connected to. Use process content as soft marketing.
Content Ideas (That Also Sell)
- 30-second timelapse of your print illustration (mention it’s available as a print)
- Clip of you testing brush settings (link to brush pack)
- Before/after of a sketch → final piece (link to commission info)
- "If you like this, you can grab the print in my shop."
You don’t have to hard-sell. Just invite:
Step 9: Mini Launch Plan for Your First Product
Treat each new piece like a tiny event.
Day -2 to -1:
- Post a WIP shot:
- "Working on a cozy witch print for my shop. Any name ideas?"
- Post final art + detail close-ups
- Add link to Etsy/Gumroad
- Offer a 10–20% launch discount for 48 hours
- Share a customer photo or mockup
- Post a timelapse or breakdown of how you made it
Day 0 (Launch):
Day 3:
Day 7:
Repeat this for each new product. Consistency compounds.
Step 10: Iterate Like an Artist-Scientist
Business is just creative experimentation with feedback.
Every month, review:
- Top-viewed product
- Best-selling product
- Most saved/liked post
- What style, color palette, or subject do these share?
- Can I create a series around this?
- PureRef
- Milanote
- Figma
Ask:
Document patterns visually in a simple mood board using:
Let this board guide your next 3–5 products.
Closing: You Don’t Need Permission to Start
Your first shop won’t be perfect. Your mockups might be awkward. That’s fine.
Follow this stripped-down path:
Sketch your Product Pyramid
Create one print-ready piece
Export with the settings above
Upload it to one platform
Talk about it like you would in class—share your process
Treat each step as another brushstroke in the bigger painting of your art business.
You’re not just posting art now—you’re building an ecosystem where your creativity can actually pay your bills.