If you’ve ever stared at a blank "Price" field and typed a random number, you’re not alone. Pricing feels like math plus feelings plus fear.
Stop Rolling Dice on Your Prices
Let’s turn it into a repeatable art exercise you can refine, not a one-time panic.
By the end of this workshop-style guide, you’ll:
- Build a simple pricing calculator
- Learn canvas + layer practices that protect your time
- Use visual tools to plan tiers and packages
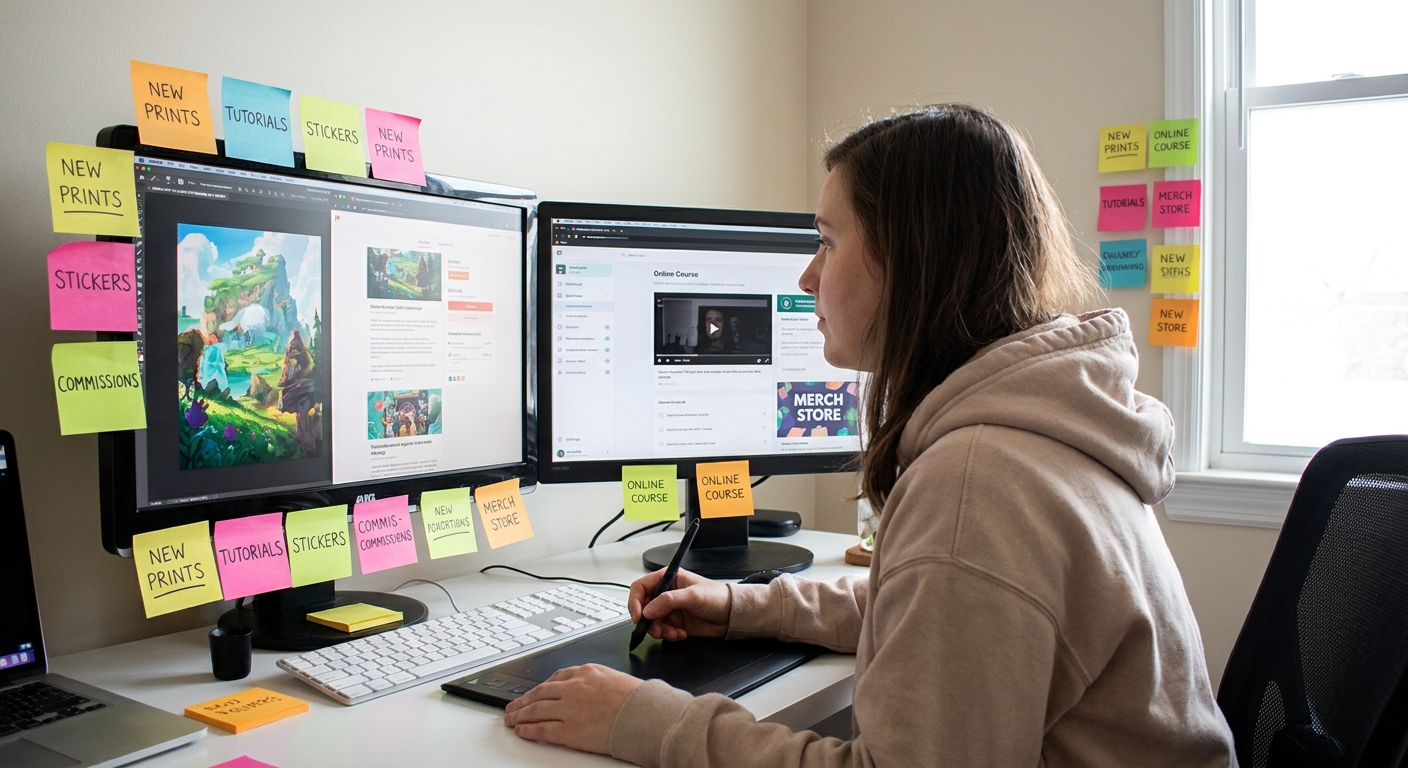
Open a note-taking app or sketchbook—we’re going to draw your pricing strategy.
Step 1: Sketch Your Time Map
You can’t price if you don’t know how long things actually take.
Exercise: Time Map Sheet
Create a table (on paper or digital):
Columns:
- Task
- Est. Time (hrs)
- Actual Time (hrs)
- Sketch
- Line art
- Base colors
- Rendering / shading
- Background
- Revisions
- Export + delivery
- Toggl / Clockify
- Or simply a phone timer + rough notes
Rows for:
For your next 2–3 pieces, track time with:
This becomes your reality check the next time you think "It’ll only take 2 hours."
Step 2: Build a Simple Pricing Formula
We’ll build a baseline formula, then layer in value.
Choose a Starting Hourly Rate
Answer quickly:
- Does $10/hr feel too low for your skill? Probably.
- Does $100/hr feel unreachable right now? Maybe.
- Your cost of living
- Skill level
- Demand (commissions queue busy? rate higher.)
Pick something between $15–$40/hr depending on:
You can (and should) adjust this over time.
Core Formula
> Art Price = (Estimated Hours × Hourly Rate) + Fixed Costs + Value Premium
We’ll define each part.
Step 3: Account for Fixed Costs and Hidden Time
Fixed Costs
Things like:
- Asset purchases (fonts, textures) used only for that job
- Licensing fees (stock photos, 3D models)
- Payment processing fees
You can estimate these at 5–10% of the project price if you’re not sure.
Hidden Time
Non-painting tasks:
- Emails & messages
- Reference hunting
- File organization & exports
Add 15–25% extra time for these.
So if you think a piece will take 6 hours of drawing, price as if it’s 7–8 hours.
Step 4: Use a Visual Pricing Ladder
Draw a ladder with 4 rungs. Label each rung as a tier:
Tier 1: Quick Sketch / Bust
Tier 2: Half-Body Flat Color
Tier 3: Full-Body Detailed
Tier 4: Full Illustration (Background)
For each rung, estimate:
- Hours
- Base price using the formula
Example (Hourly Rate = $25, Hidden Time = +20%, Fixed Costs = built in):
- Tier 1: 1.5 hrs → (1.5 × 25) × 1.2 ≈ $45 → round to $45–50
- Tier 2: 3 hrs → (3 × 25) × 1.2 ≈ $90
- Tier 3: 6 hrs → (6 × 25) × 1.2 ≈ $180
- Tier 4: 10 hrs → (10 × 25) × 1.2 ≈ $300
This ladder becomes your commission sheet skeleton.
Step 5: Optimize Your File Setup to Protect Your Time
Fast, organized workflows = less wasted time = fairer pricing.
Recommended File Setup (All Levels)
Canvas:
- 3500–4500 px on longest side
- 300 DPI
- sRGB
SketchLineBase ColorsShadowsHighlightsBackgroundAdjustments
Layer Groups:
Use clipping masks for shadows/highlights to speed edits.
Brush Settings for Speed
- Use one main line brush for consistency and fewer micro-decisions.
- Turn on stabilization enough to reduce redrawing lines (15–30).
- For shading, use a big soft brush at 20–40% opacity for fast rendering.
This may sound like an art tip, but it directly affects your hours, which affects your pricing.
Step 6: Add a Value Premium (Beyond Hours)
Not all pieces are equal even if they take the same time.
Reasons to charge more than the base formula:
- Commercial use (logos, merch art, book covers)
- Rush deadlines
- Complex IP / brand values attached
Simple Value Multiplier
Use this guideline:
- Personal Use: Base price × 1.0
- Online Creator Use (YouTubers, streamers): Base × 1.5
- Commercial Brand Use: Base × 2–4 (or more, depending on reach)
- Base art price: $200
- YouTuber channel banner: 200 × 1.5 = $300
- Brand using it on packaging: 200 × 3 = $600
Example:
State this clearly on your commission sheet.
Step 7: Make a Simple Pricing Calculator (No Code)
Use Google Sheets, Notion, or Excel.
Columns:
- Piece Name
- Est. Hours
- Hourly Rate
- Hidden Time %
- Base Price
- Usage (Personal / Creator / Commercial)
- Final Price
In Sheets, your base price formula might look like:
=EstHours HourlyRate (1 + HiddenTime%)
Then apply a multiplier based on usage. This calculator:
- Removes emotional panic
- Keeps your pricing consistent across clients
Step 8: Build Tiered Packages with Clear Scope
Packages help clients choose faster and reduce revision drama.
For each tier, define:
- What’s included (views, characters, background complexity)
- What’s not included (animation, commercial rights, extra revisions)
Example Tier Description:
Tier 2 – Half-Body Color – $90 (Personal Use)
- One character, half-body
- Simple gradient or shape background
- 2 minor revision rounds (colors/pose tweaks)
- Delivery: 3000×3000 px PNG
- Extra character: +50%
- Complex background: +$40–$60
- Commercial use: +50–200%
Add-ons:
Write these in a clean PDF or image for easy sharing.
Step 9: Practice Saying Your Prices Out Loud
This sounds silly, but it’s important.
Say:
> "For a half-body colored illustration like this, my rate is $90 for personal use, or $135 if you need commercial rights."
Repeat until you can say it without apologizing or trailing off.
Confidence doesn’t mean you’re overcharging; it means you understand your value and process.
Step 10: Review and Raise Strategically
Pricing isn’t set in stone.
Every 3–6 months, review:
- Are you consistently fully booked or turning people away?
- Do you feel rushed or underpaid per piece?
- Has your skill improved noticeably (compare old vs new art)?
- Commission sheet
- Website / socials
- Pricing calculator
If yes to any, raise your rates 10–20% and update your:
Think of your pricing as levels in a game—you don’t start at max level, you level up as you gain XP.
Quick Reference: Example Pricing Sheet (Template)
Assume: Hourly rate $25, Hidden time 20%.
- Headshot Sketch (Personal) – 1 hr → $30
- Half-Body Color (Personal) – 3 hrs → $90
- Full-Body Detailed (Personal) – 6 hrs → $180
- Full Illustration w/ Background (Personal) – 10 hrs → $300
- Creator use × 1.5
- Commercial use × 2–4
Usage multipliers:
Use this as a starting point, not a rule. Adjust for your pace, style, and market.
Final Thoughts: Pricing as a Creative Constraint
Pricing isn’t something that happens after the art; it shapes how you work:
- Clear tiers = clearer compositions
- Time awareness = cleaner layer structure
- Higher prices = more space to create your best work
Treat this like refining a character design: test it, tweak it, evolve it. Your prices are just another part of the art business you get to design.