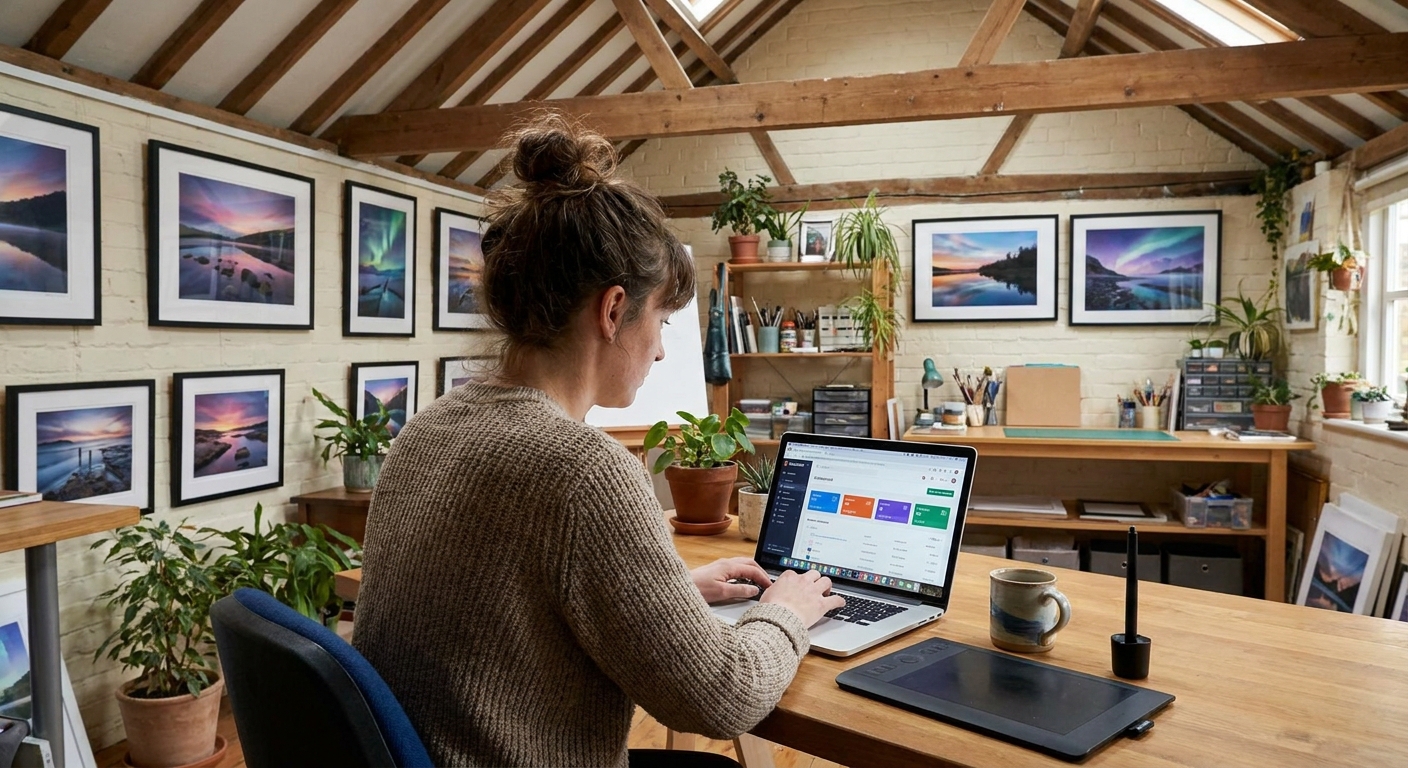
Many digital artists never launch anything because they treat their first product like a final boss fight. Think of it like a rough sketch instead: important, but allowed to be imperfect.
Stop Waiting for the “Perfect” Product
This guide walks you through a practical, class-style launch blueprint for your first (or next) digital art product, such as:
- Wallpaper pack
- Brush set
- Printable poster
- Emote pack
- Product choice
- Creation workflow (with settings + brushes)
- Packaging and file prep
- Simple launch plan & promos
We’ll cover:
Follow along step-by-step and actually ship something by the end of the week.
Step 1: Pick a Tiny Product You Can Finish Fast
The 3-Day Product Rule
Your starter product should be something you can realistically finish in 3 focused days of work, even if you spread it over a week.
Use this quick decision matrix:
- High complexity, low price (e.g., giant comic): skip for now.
- Low complexity, clear value (e.g., 10 wallpapers): perfect.
- 6–10 phone wallpapers around one theme
- 5–8 custom brushes with a mini demo piece
- 4–6 emotes with variations
Suggested Starter Products:
Circle one idea. That’s your product.
Step 2: Set Up Your Canvas and Files Intentionally
The right setup now saves headaches later.
Example: Phone Wallpaper Pack
Canvas Settings:
- Size: 1440×3200 px (covers most modern phones, but you can also do 1080×1920)
- Resolution: 300 DPI (overkill for phones but useful if you repurpose for print)
- Color Profile: sRGB
SketchLineBase ColorsShadowsHighlightsTexturesGlow/FX
Layer Structure Template:
Save this as a template file and duplicate for each wallpaper.
Example: Procreate Brush Pack Demo Canvas
Canvas:
- 3000×3000 px, 300 DPI, sRGB
Make a 3×3 grid and test each brush in a different square: strokes, shading, small doodle. You’ll use this later in your product preview.
Step 3: Choose a Cohesive Theme and Visual Rule Set
Consistency makes your pack look intentional. Let’s define quick visual rules.
Theme Prompts
Pick one:
- Cozy night windows
- Neon food stalls
- Ghost pets
- Retro game UIs
- Witch tools on desks
Visual Rule Set
On a scratch layer (or on paper), decide:
- Palette: 5–10 shared colors
- Brushes: 1 line brush, 1 shading brush, 1 texture brush
- Composition: Central object? Repeating layout? Shapes in corners?
- Palette: deep navy, muted purple, warm orange, off-white
- Line: clean, 80% opacity, 2–4 px (on 1440×3200 canvas)
- Shadows: multiply layer with navy at 35–50% opacity
- Highlights: overlay layer with orange at 50–70% opacity
Example Rule Set:
These rules speed up your decisions and keep your product visually unified.
Step 4: Draw Smart, Reuse Elements
You don’t need to start from zero for each item.
Reusable Element Technique
Create a small library file:
- Candles, plants, books, moons, icons, etc. 2. Group each as a folder in your layers panel. 3. Duplicate and transform them across different wallpapers/emotes.
Software Tips:
- Photoshop: Use Smart Objects for elements you reuse often.
- Clip Studio: Register materials for quick drag-and-drop.
- Procreate: Use
Copy & Pastebetween canvases or keep everything in one master file and crop when exporting.
Reusing elements is not "cheating"; it’s working like a production artist.
Step 5: Brush and Texture Choices for Product Clarity
Details can get lost on small screens or prints. We want clarity first, texture second.
Recommended Brush Settings
Lines (All Products)
- Hard-ish brush with light texture
- Stabilization: 20–40 (fewer wobbles)
- Opacity: 90–100%
- No extreme tapering at both ends (avoid "hairy" lines at small sizes)
- Soft round or soft textured brush
- Opacity: 20–40%
- Flow: 50–80%
- Big brush size so texture reads
- Scatter/Grain low enough that it doesn’t look noisy when zoomed out
Shading
Texture
Experiment:
Zoom out to 25% often. If you can’t read the main shapes, simplify.
Step 6: Package Files Like a Professional
Your art is great; your delivery should match.
Folder Structure
Create a main folder:
ProductName_byYourNameWallpapersorBrushesetc.ReadMeLicense(even a simple text file)Bonus(optional extra file, like a behind-the-scenes JPG)
Inside, add:
File Formats
Wallpapers / Posters
- High-res: JPG, quality 90, sRGB
- Optional: a slightly smaller version for older devices
- Procreate:
.brushset - Photoshop:
.abr - Clip Studio: material file exported using built-in manager
- Thank you note
- How to install/use
- Your website/socials
- Basic usage terms ("personal use only" / "ok for streaming overlays" etc.)
Brush Packs
ReadMe.txt Suggestions
Step 7: Create Simple but Strong Product Images
People buy based on the preview.
Preview Image Checklist
- 1 main "hero" image with:
- Your product name
- A few thumbnails or brush strokes
- Your name/brand
- 2–5 additional images showing:
- Close-ups
- Example usage (mockups on phones, desktops, stream overlays)
- Before/after shots if it’s a brush pack
- 2000×1500 px (landscape) or 1500×2000 px (portrait)
Canvas for Previews:
Use large, easy-to-read text with a high-contrast color from your palette.
Mockup Tips:
- Use free mockups from sites like Unsplash (license check) or MockupWorld.
- Drop your wallpaper onto a phone mockup in Photoshop using
Edit → Transform → Distortor smart objects.
Step 8: Write a Clear, Friendly Product Description
Your description should feel like you’re explaining the pack to a classmate.
Structure:
- Hook: What this product helps with.
- What’s Inside: Bullet list with counts and sizes.
- Tech Details: Sizes, formats, software compatibility.
- Use Cases: How buyers can use it.
- Notes/Limitations: Licensing terms.
Example Hook:
> "A set of 10 cozy night phone wallpapers for people who want their home screens to feel like a warm fantasy novel."
Keep it honest and concrete.
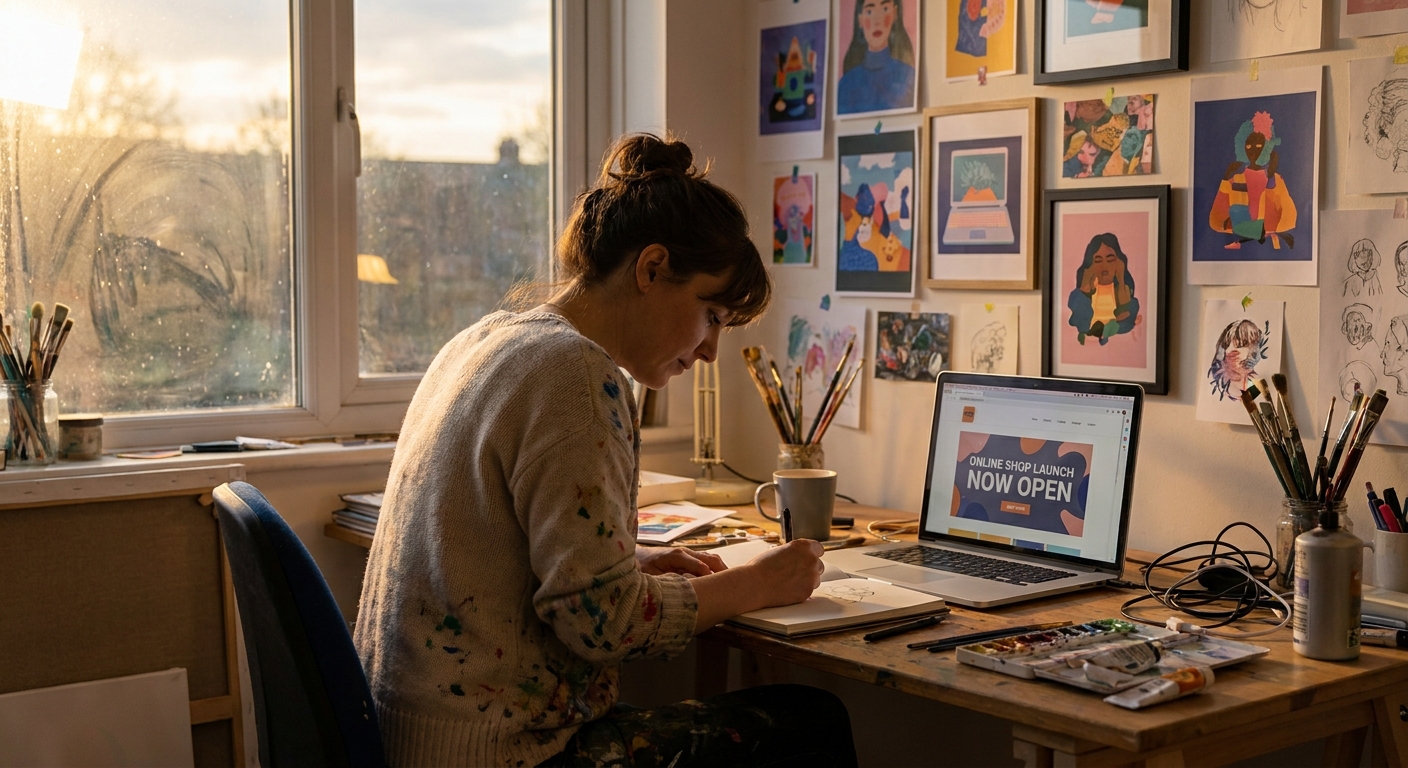
Step 9: Choose a Platform and Upload
Pick one platform for this launch:
- Gumroad
- Ko-fi shop
- Itch.io
- Etsy (best for printables and physical add-ons)
- Set a reasonable price (e.g., $7–$15 for a starter pack)
- Add 5–10 keywords that match your audience ("cozy wallpaper", "digital art pack", etc.)
Follow their upload process, then:
Pay-What-You-Want Option:
On platforms like Gumroad, consider:
- Minimum price: $2–$4
- Let fans pay more if they want
This can be powerful for early community building.
Step 10: Run a Simple 5-Day Launch Sprint
Treat your launch like a mini event.
Day -1: Tease
Post 1–2 WIP shots or close-ups:
- Caption idea: "Working on a set of cozy night wallpapers for your phones. Should I add cats or ghosts?"
Day 0: Launch
- Post the hero preview + 1 detail image.
- Share the link.
- Offer a launch discount (e.g., 20% off for 48 hours) if the platform supports it.
Day 2: Process Post
Share:
- Timelapse GIF or short video
- Brush settings used
Mention casually that the finished pack is available.
Day 4: Use-Case Post
Show:
- Mockups of the wallpapers on a phone or tablet
- Or a brush pack used in a new mini piece
Ask: "Which variant is your favorite?"
Day 5: Reflection & Thank You
- Share a quick note on what you learned creating the pack.
- Thank early buyers.
- Ask what theme people want next.
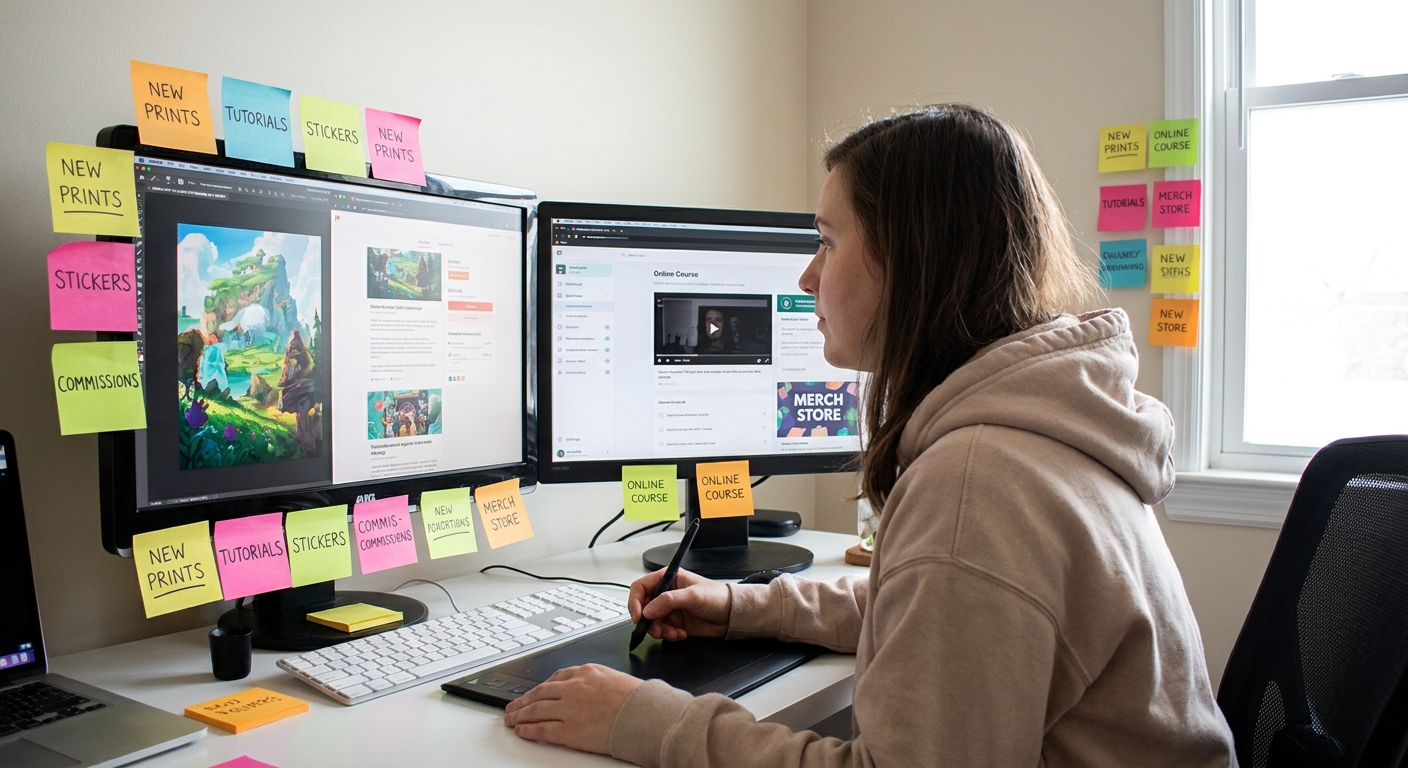
Step 11: Analyze and Iterate Like an Artist
After 1–2 weeks, look at:
- Views vs. purchases/downloads
- Which preview image got the most engagement
- Which theme/color piece people commented on most
- Make a Volume 2?
- Create a related product (e.g., matching desktop wallpapers or a brush set)?
Then decide:
Treat your product like a character design you can refine based on feedback.
Final Sketch: Launches as Ongoing Practice
You don’t need a perfect shop to start a real art business. You need:
One small, cohesive product
Clean files and a clear description
A simple, honest launch
Use this blueprint, and think of each launch as another page in your art business sketchbook—messy, experimental, and full of potential.