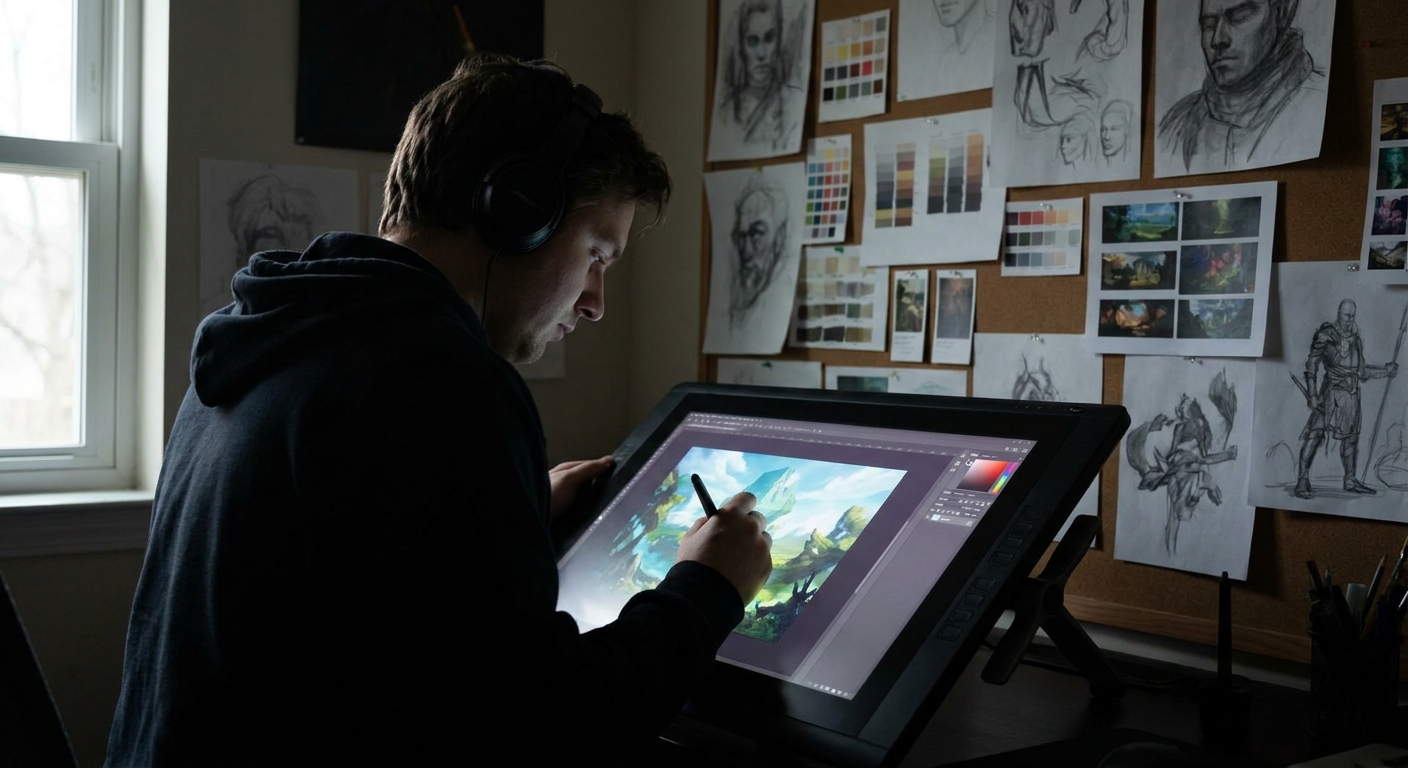
A strong illustration doesn’t just look cool—it says something, even without words. Instead of starting with details, we’ll start with story and translate it into shape, color, and composition.
Illustration as Silent Storytelling
Think of this as a narrative workshop in your digital canvas. We’ll use a simple framework that works for any skill level.
Step 1: The One-Sentence Story
Before sketching, define what’s happening in a single sentence.
Examples:
- "A young witch nervously steps onto a train leaving her hometown."
- "A tired robot repairs an old lighthouse during a storm."
- "Two friends share a secret under neon city lights."
Write your sentence on a text layer at the top of your file or in a corner of your canvas.
> Constraint: The sentence must include a character, an action, and a mood.
Step 2: Shape Language – Casting Your Characters
Shapes carry emotion. Use them like casting actors in your story.
- Circles/Curves → soft, friendly, cute, naive.
- Squares/Rectangles → stable, reliable, stubborn.
- Triangles/Sharp Angles → dynamic, dangerous, sneaky.
Exercise: Shape-Only Casting
- Create 3–4 small boxes.
For your main character, design them 3 times:
- All-round shapes - Mostly square shapes - Mostly triangular shapes 3. Don’t add details; just silhouettes and simple inner lines.
Ask:
- Which version best matches your story sentence and mood?
Pick one and refine that version.
Step 3: Compositional Archetypes for Storytelling
We’ll use 3 simple composition types that support common narrative beats.
Spotlight Composition (Focus on Character)
- Big, simple background. - Character isolated with strong contrast (value or color). - Great for "turning point" or emotional close-ups.
Journey Composition (Movement Through Space)
- Clear left-to-right or right-to-left path. - Character is part of a landscape or environment. - Great for travel, change, or exploration stories.
Confrontation Composition (Conflict, Tension)
- Two dominant forces facing off (character vs character, or character vs environment). - Diagonal lines and strong opposing shapes.
Thumbnails with Story in Mind
On a new layer:
- Draw 6–9 small rectangles.
- Try at least 2 thumbnails for each archetype using your chosen character design.
Remember your story sentence. Adjust:
- Camera angle (high, low, eye-level).
- Crop (close-up vs wide shot).
- Position of the character relative to other elements.
Pick the one that feels most like the moment you want to show.
Step 4: Value Structure as Emotional Lighting
Values (light and dark) are a powerful emotional tool.
Emotional Value Setups
- Hopeful / Uplifting: darker frame, light center on character.
- Threatening / Oppressive: bright, harsh environment; character in shadow.
- Nostalgic / Quiet: mid-value overall, soft transitions, gentle contrast.
Technique: 3-Value Story Board
- Expand your chosen thumbnail.
Use only:
- Dark (shadow) - Mid (local average value) - Light (highlight/focal area)
Block in:
- Background as large shapes. - Character silhouette. - Major props.
Squint or zoom out to 10–25%. Does the emotion match your intent? Adjust until it does.
Step 5: Color Script for a Single Illustration
Film and animation teams use color scripts for entire movies, but you can use a mini version for one illustration.
Micro Color Script Exercise
- Duplicate your value thumbnail canvas twice (total 3 copies).
On each copy, test a different color scenario:
- Version A: Warm lights, cool shadows. - Version B: Cool lights, warm accents. - Version C: Monochrome with one accent color. 3. Use a large soft brush on a Color-mode layer to glaze over values.
Use each version to ask:
- Which palette best supports the mood word in your story sentence?
Pick one palette and commit.
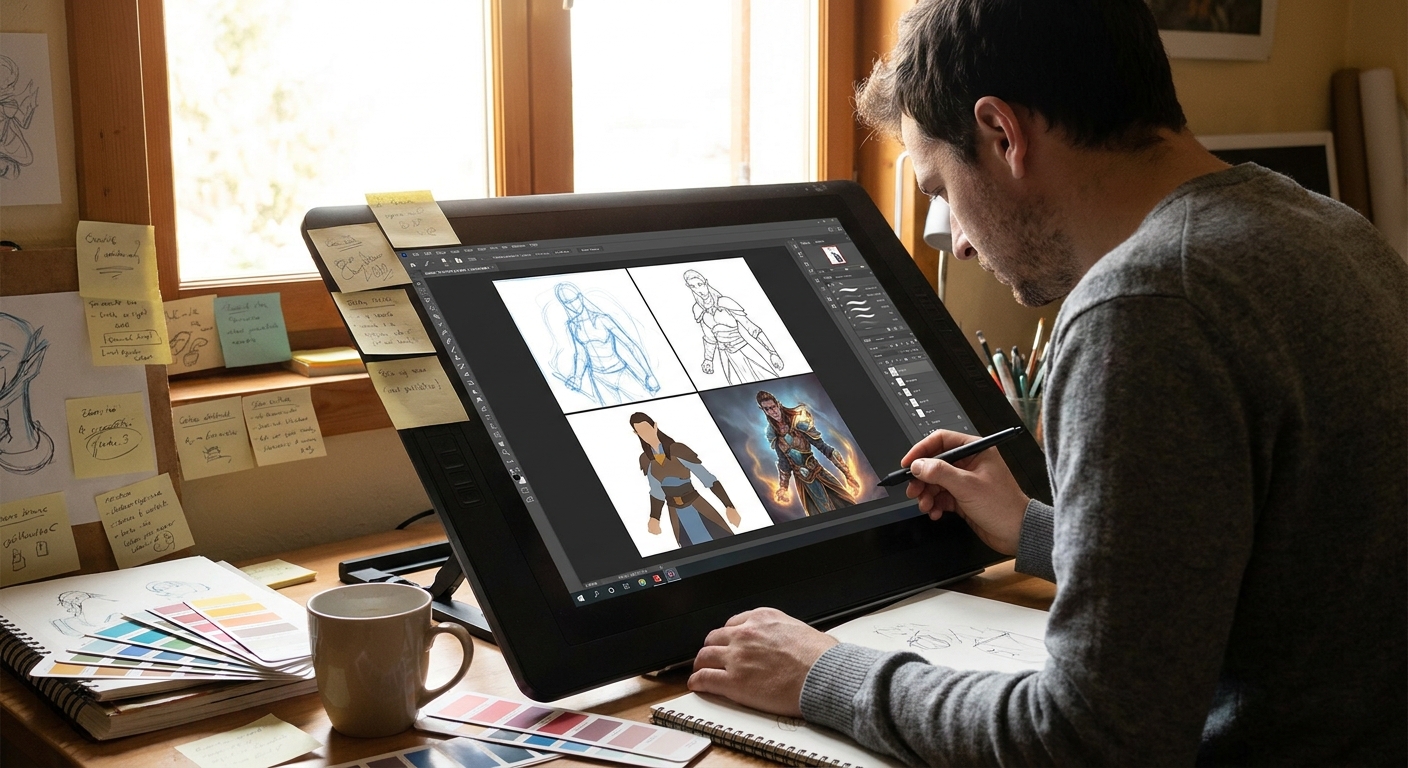
Step 6: Building the Illustration – Stage by Stage
Let’s put it all together in a practical workflow.
Assume our story: "A tired robot repairs an old lighthouse during a storm".
6.1 Under-Drawing and Layout
- On a
SKETCHlayer, refine your chosen thumbnail. - Define the robot with your chosen shape language (maybe squares + a bit of triangle for worn edges).
- Place key story props: lighthouse rim, tools, storm waves, distant light.
6.2 Flats Supporting the Story
Flats should already hint at the story mood.
- Robot: muted, slightly rusted metal tones.
- Lighthouse: desaturated whites and reds.
- Sky/sea: dark teal, gray-blues.
Lock transparency on each flat group for easy shading.
6.3 Lighting to Emphasize the Moment
Decide on your story’s light sources:
- Primary: cold lightning flashes.
- Secondary: warm, struggling lighthouse lamp.
Paint with this logic:
- Cold light edges on the storm side.
- Warm rim light near the lamp and tools.
Use separate layers:
COLD LIGHT(Overlay or Screen)WARM LIGHT(Add/Linear Dodge, very low opacity)SHADOW(Multiply)
The warm vs cool battle becomes a visual metaphor for struggle vs hope.
Step 7: Story-Driven Details (Not Random Detail Sprinkle)
Detail only what strengthens the narrative.
High-Detail Zones
- Robot’s hands and tools: sells the "repair" action.
- Face area (if it has one): expresses tiredness.
- Edges of the lighthouse lamp: the source of hope.
Low-Detail Zones
- Distant waves and sky: implied with broad strokes.
- Far background buildings or landmasses.
Ask for each detail: Does this help tell the story? If not, simplify.
Step 8: Visual Story Checklist
Before finishing, step back and check your visual storytelling.
Clarity: Can someone guess the story in a sentence?
Emotion: Does the mood feel intentional (lighting and color support it)?
Focus: Is it obvious what the character is doing?
Hierarchy: Do you have clear primary/secondary/tertiary elements?
Gestures: Do body language and silhouette match the emotion?
If any answer is "no" or "meh," adjust composition, lighting, or pose before obsessing over texture.
Practice Prompts: Story-First Illustration Drills
Try these prompts, using the same step-by-step process:
- Quiet Moment: "An apprentice rests in the workshop after everyone’s gone."
- Focus on warm, soft light; calm composition.
- Turning Point: "A knight drops their sword in a field of flowers."
- Contrast harsh armor vs gentle environment.
- Small Victory: "A kid proudly shows a tiny planted seedling on a ruined street."
- Use scale and framing to emphasize hope.
For each:
- Write the one-sentence story.
- Choose shape language.
- Thumbnail with a fitting composition archetype.
- Build value structure and micro color script.
- Render in stages.
Final Thoughts: Start with the Story, Not the Brush
Brushes, rendering, and details are exciting—but they’re most powerful when they’re serving a clear narrative. By always starting with a story sentence, then deliberately using shape, composition, value, and color to express it, your illustrations gain depth without losing clarity.
Keep this story-first workflow on a sticky note near your tablet. Every time you’re tempted to jump straight into rendering eyes and hair, glance up, write your one-sentence story, and let the illustration build from there.