Open five artists’ PSD files and you’ll see five completely different worlds: some with 150 layers, some with 5; some starting from line art, others from abstract blobs.
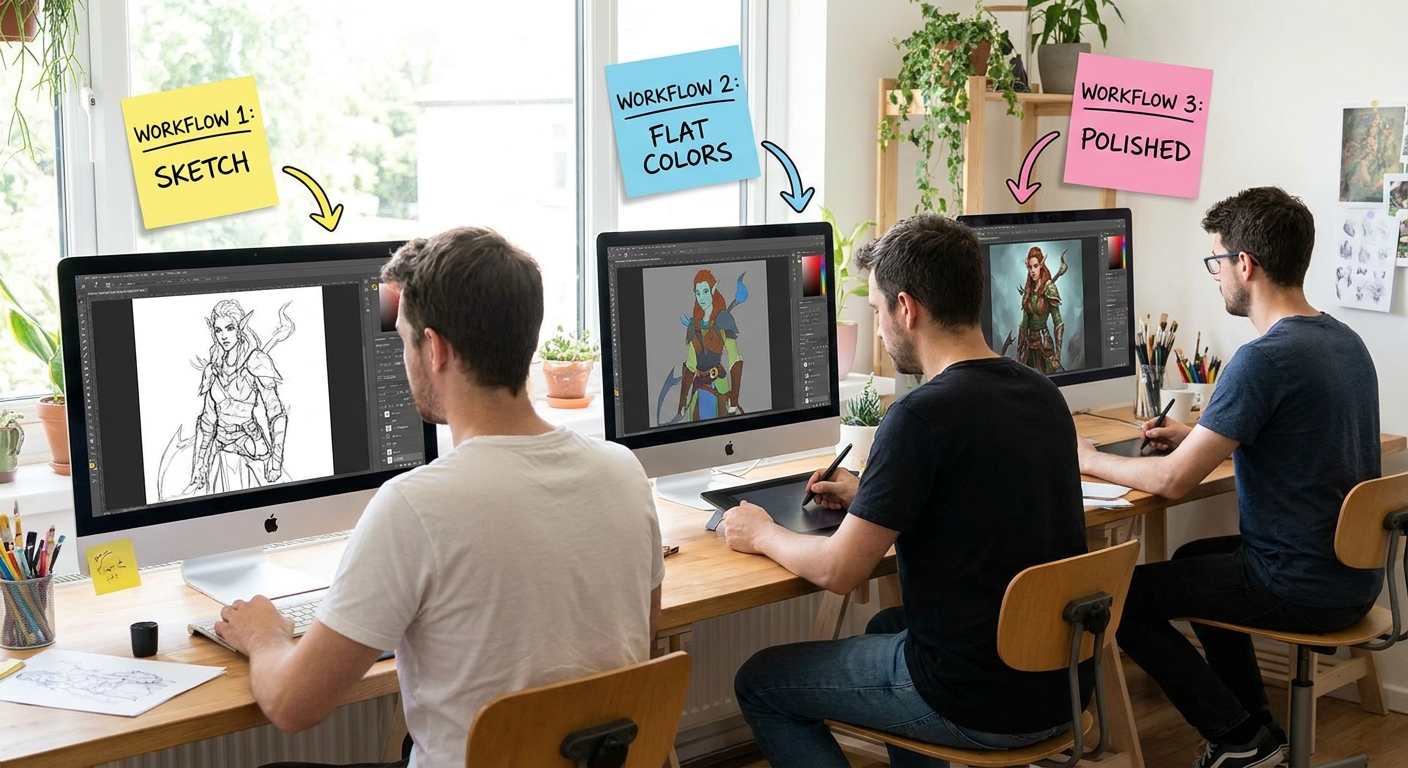
One Goal, Three Paths: Choosing a Digital Painting Workflow
This article compares three practical digital painting workflows:
Line‑First (Illustration) Workflow
Shape‑First (Concept Art) Workflow
Grayscale‑First (Value to Color) Workflow
You’ll get step‑by‑step breakdowns, brush tips, and when to use each. Try them all; then mix and match to build your own hybrid.
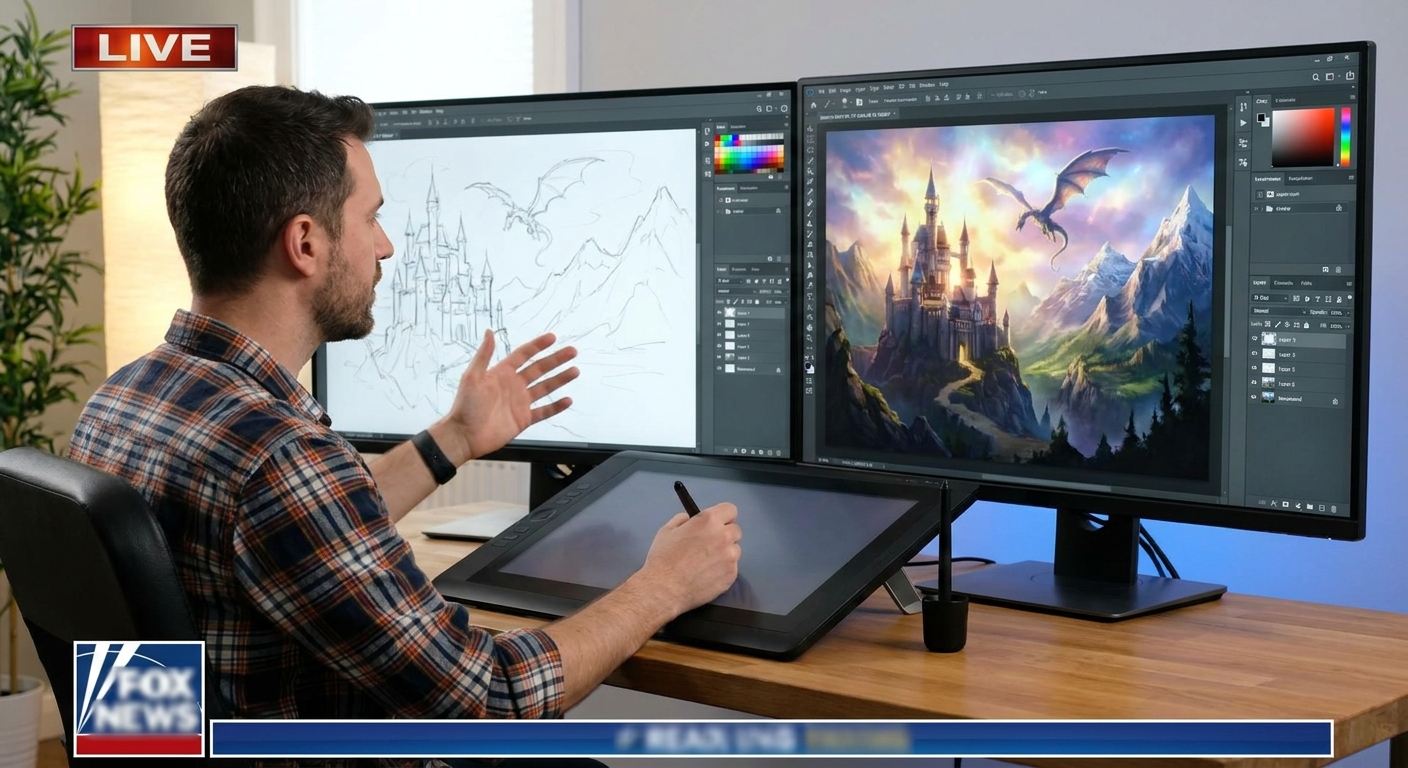
1. Workflow #1 – Line‑First: Clean Illustrations & Characters
This pipeline is ideal if you like comics, clean character art, or clear designs.
Stage A: Rough Sketch
Brush: Sketch/Pencil brush, opacity & size controlled by pressure.
- Start with a canvas around 2500–3500 px on the long edge.
- On a
ROUGH SKETCHlayer, loosely draw your character or scene. - Focus on gesture, large shapes, and composition; ignore details.
Keep lines light and flexible—this is where you experiment with poses.
Stage B: Refined Line Art
- Lower the opacity of
ROUGH SKETCHto 20–40%. - Create a new layer:
CLEAN LINE. - Use a smaller, harder brush for sharper lines.
Trace and refine:
- Clarify forms - Fix anatomy - Design clothing and props
Aim for lines that would look good even in black and white.
Stage C: Flat Colors (Cel‑Style Base)
- Put
CLEAN LINEon top, set blend mode to Multiply. - Underneath, create a
FLATSlayer.
With a hard round or flat brush at 100% opacity:
- Use the Lasso tool to select areas. - Fill them with flat colors (skin, hair, clothes, etc.).
Optional: Separate flats by material (e.g., SKIN_FLATS, CLOTHES_FLATS).
Stage D: Shadows & Lights
- Add a shadows layer clipped to
FLATS, set to Multiply. - Pick a neutral cool color for shadows.
- With a soft brush (30–50% opacity), paint basic shadow shapes.
Then:
- Add a
LIGHTlayer set to Overlay/Soft Light. - Use a warm color to paint highlights.
Stage E: Rendering & Details
- Merge a copy of Flats + Shadows + Light into one
PAINTlayer (keep originals hidden as backup). - With a blend/modeling brush, soften edges where needed.
- Use a detail brush for eyes, hair strands, and accessories.
Best for:
- Character sheets
- Clean illustrations
- Comics and story art
Strengths: Clear control, easy to adjust colors, beginner‑friendly structure.
Drawbacks: Can feel stiff or overly outlined if you don’t break some lines in later stages.
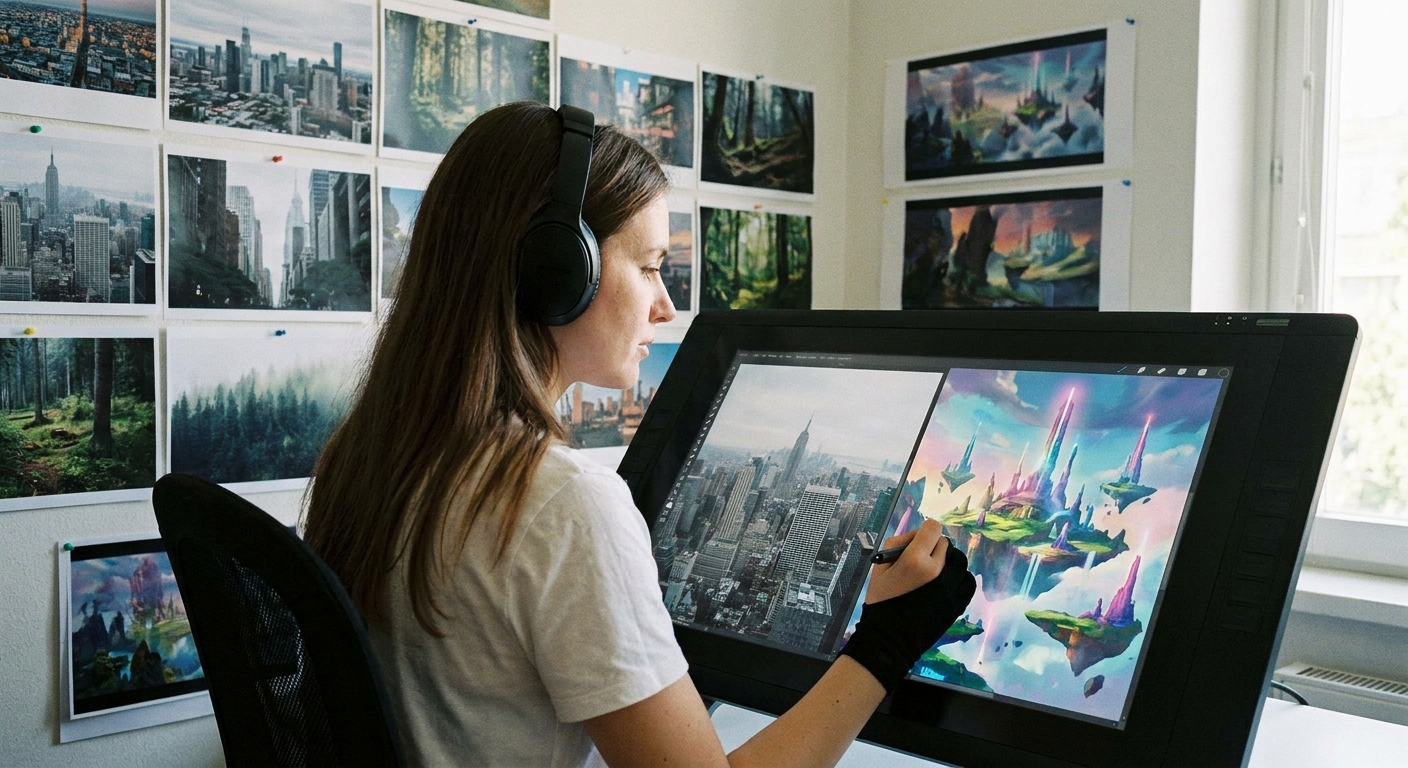
2. Workflow #2 – Shape‑First: Painterly Concept Art
This approach starts with big value and color shapes instead of line drawing. Great for environments and loose character concepts.
Stage A: Abstract Thumbnails
- Paint tiny thumbnails (300–600 px wide) with a big, opaque brush.
- Use 2–4 values only (dark, mid, light, maybe highlight).
- Silhouette your main subject clearly.
Think more about graphic impact than details.
Stage B: Large Canvas Block‑In
- Pick your favorite thumbnail.
- Upscale or recreate it on a larger canvas.
On a BLOCK‑IN layer, with a chunky brush:
- Block main shapes in color. - Keep edges bold and intentional.
Use big brushes (20–40% of canvas width). No details yet.
Stage C: Carving with Light & Shadow
- Add a
LIGHT & SHADOWlayer above. - Decide a clear light direction.
- Use a soft brush to carve volume into your shapes.
At this stage, you’re asking:
- Where is the viewer? (Camera angle)
- Where is the light? (Focus and mood)
Stage D: Implied Line & Focal Points
Instead of line art, you define forms with value and edges.
- Sharpen edges around your focal area (brush hardness 80–100%).
- Soften edges away from the focus.
- Add contrast and saturation where you want the eye to go.
Optional: Add a GUIDE SKETCH layer over the painting if something feels unclear, then paint over it.
Stage E: Texture & Detail Pass
- Introduce texture brushes for rocks, foliage, walls, clouds.
On new layers set to Overlay/Multiply, add richness:
- Dirt on walls - Leaves and grass variations - Clouds and atmospheric haze
Best for:
- Environment concept art
- Mood pieces
- Loose, painterly styles
Strengths: Strong compositions, fast mood exploration, painterly feel.
Drawbacks: Harder for beginners to control structure; can get muddy without clear values.
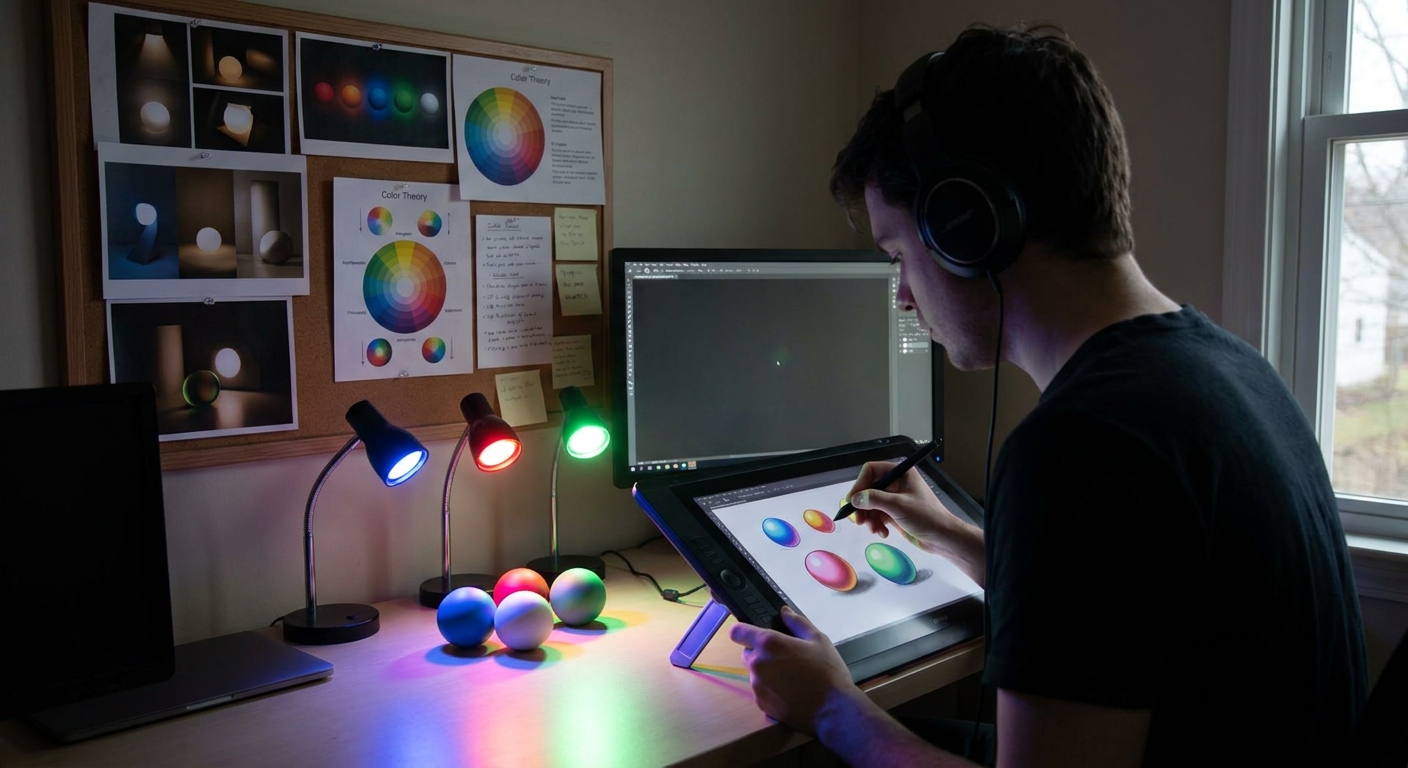
3. Workflow #3 – Grayscale‑First: Value to Color
This method separates value (light/dark) from color, helping you avoid muddy, low‑contrast pieces.
Stage A: Grayscale Sketch & Block‑In
- Set your canvas to grayscale or just work in gray.
- Rough sketch with your sketch brush.
- On a layer beneath, block in shapes with 3–5 values.
Flatten or group when needed so you’re painting on fewer layers.
Stage B: Value Rendering
Spend real time here—the stronger this stage, the easier everything later.
- Use a blend/modeling brush to sculpt forms.
- Flip the canvas horizontally regularly to catch proportion issues.
- Turn the canvas tiny (zoom out far) to check readability.
When your piece works well as a black‑and‑white picture, you’re ready for color.
Stage C: Color Glazes
There are several ways to add color:
Method 1: Color Layer
- Add a new layer on top, set to Color mode.
Softly paint broad color zones:
- Skin tones - Clothing colors - Sky/ground hues
The underlying values remain intact while hues shift.
Method 2: Gradient Maps
- Add a Gradient Map adjustment layer above your grayscale.
Pick gradients that go:
- Shadows → cool colors - Midtones → neutral - Highlights → warm
Tweak until hue distribution feels good, then paint on top with Normal layers for refinement.
Stage D: Refining Color & Light
- On Normal layers, paint local color corrections.
- Add Add/Overlay layers for warm/cool lights.
- Use Color Balance or Hue/Saturation adjustments for global tweaks.
Best for:
- Dramatic lighting
- High‑contrast scenes
- Artists who struggle with values and color at the same time
Strengths: Solid value structure, easy to try different color schemes.
Drawbacks: Can look “tinted” or unnatural if you don’t push enough color variation afterward.
4. Side‑By‑Side Comparison
Here’s how the three workflows line up.
Learning Focus
- Line‑First: Drawing accuracy, character design
- Shape‑First: Composition, graphic impact, mood
- Grayscale‑First: Values, lighting, drama
Best For Beginners Who…
- Love comics/anime → Line‑First
- Love concept art & environments → Shape‑First
- Feel lost with values → Grayscale‑First
Speed vs Control
- Fast exploration: Shape‑First
- Precise control: Line‑First
- Slow but strong structure: Grayscale‑First
5. Brush & Layer Suggestions for Each Workflow
Line‑First Toolkit
- Brushes:
- Sketch brush
- Hard round for flats
- Soft round for shadows
- Small detail brush
- Key Layers:
- Rough Sketch
- Clean Line (Multiply)
- Flats
- Shadows (Multiply, clipped)
- Lights (Overlay/Soft Light, clipped)
Shape‑First Toolkit
- Brushes:
- Big opaque block‑in brush
- Soft brush for atmosphere
- Texture brush for environment detail
- Key Layers:
- Thumbnails
- Block‑In
- Light & Shadow
- Detail/Texture
Grayscale‑First Toolkit
- Brushes:
- Sketch brush
- Blend/modeling brush
- Hard round for sharp accents
- Key Layers:
- Grayscale Base
- Color (Color/Overlay layers)
- Gradient Map (optional)
- Final Paint (Normal)
6. Experiment: Paint the Same Subject Three Ways
Pick one subject—say, “mage in a ruined library” or “robot leaning on a railing at sunset.”
Create three separate files:
File A – Line‑First
- Clean line art → flats → shading → detail.
File B – Shape‑First
- Block in abstract shapes → refine with light → implied lines.
File C – Grayscale‑First
- Grayscale value painting → colorize → final tweaks.
As you work, note:
- Which stage felt easiest?
- Where did you get stuck?
- Which end result do you like most?
This experiment will tell you which workflow naturally fits your brain right now.
7. Mixing Pipelines: Your Custom Hybrid
Most professionals don’t use just one method—they mix.
Some popular hybrids:
- Line + Grayscale:
- Clean line art
- Grayscale rendering under or over lines
- Colorize at the end
- Shape + Line:
- Shape‑based thumbnails
- Add line art only where clarity is needed (faces, hands)
- Grayscale + Shape:
- Grayscale value block‑in of big shapes
- Colorize, then refine shapes with painterly passes
Feel free to break “rules.” The right workflow is the one that keeps you painting.
8. Choosing Your Next Workflow (A Mini Quiz)
Answer these quickly:
Do I enjoy drawing lines more than painting blobs?
Do I want to make polished character or story art right now?
Do I feel constantly lost about where the light goes?
Do environments and big shapes excite me more than details?
If you answered:
- Yes to 1–2: Start with Line‑First.
- Yes to 3: Start with Grayscale‑First.
- Yes to 4: Start with Shape‑First**.
Commit to using that workflow for 3 finished pieces before switching.
Conclusion
Digital painting isn’t about finding the right workflow—it’s about discovering a set of repeatable processes that match your goals and brain.
Pick one of these pipelines and run it all the way through on a small project this week. Treat it like a structured experiment. After three tries, you’ll know exactly what to keep, what to drop, and how to build a painting process that truly feels like yours.